Two weeks ago, I woke up at 4 a.m. in a tent in Patagonia, Argentina. Donning our headlamps, Jordan and I started up the side of a mountain in the dark, determined to reach the top for sunrise.
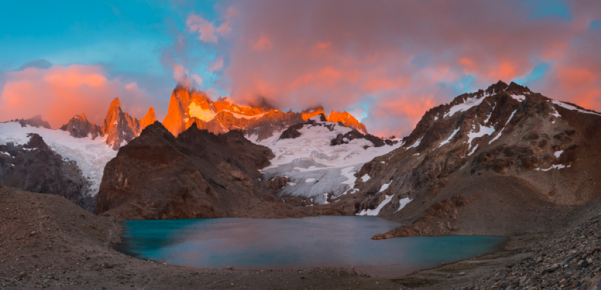
We made it! And here’s my prize:
I love a good panorama. Especially printed HUGE on my wall!
Panoramas stand out among other photos because of their size and shape. Simply cropping your photo into a panorama can do the trick… but sometimes your lens won’t let you capture an entire scene.
Also, if you take and combine multiple photos, you’ll end up with a much bigger image file—which means you can print it VERY large.
Here’s how to capture a great panorama and finish it in Lightroom:
- Put your camera in Manual mode and adjust your settings. If you’re not sure which settings to use, stick your camera in Aperture mode and set your aperture at f/11 (to make sure to have a deep depth of field). Then, take a shot of the main part of your subject. If the exposure looks good, look at the settings your camera chose and use those for your manual settings.
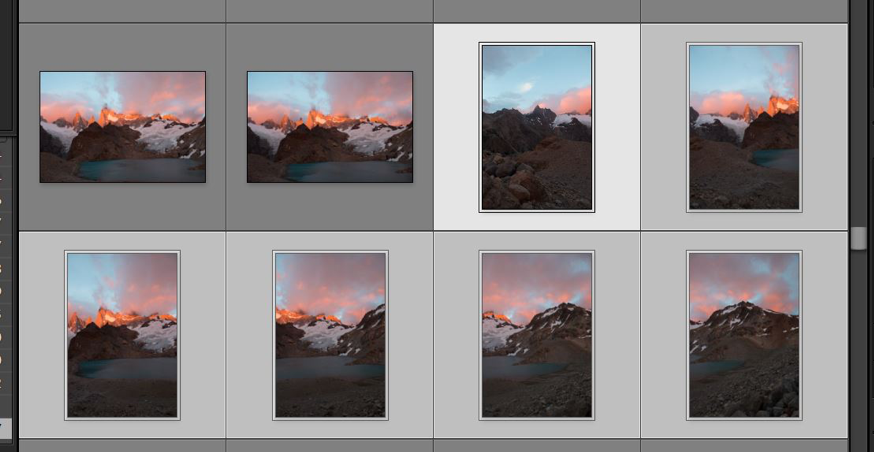
- Turn your camera sideways so you’re taking vertical shots. You’ll combine vertical shots side-by-side and get a much larger image this way than you would if you were shooting horizontally.
- Start at the far end and take a shot. Then, holding the camera as straight and steady as you can, move to the next section, overlapping about one-third of what you just shot.
- Continue moving, overlapping, and shooting until you get all the way to the other side. Check to make sure that the most important part of your subject includes exactly what you want it to (nothing is cropped off at the top or bottom) and shoot again, if you need to.
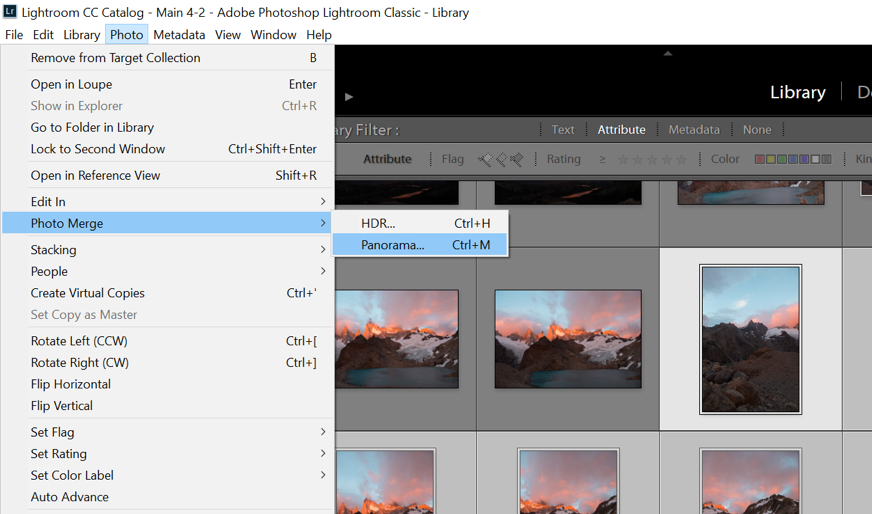
- Put the photos into Lightroom and select the whole series, by clicking on the first shot, holding down the “shift” key, and clicking on the last shot
6. Next, up in the top menu, go to “Photo -> Photo Merge -> Panorama.”
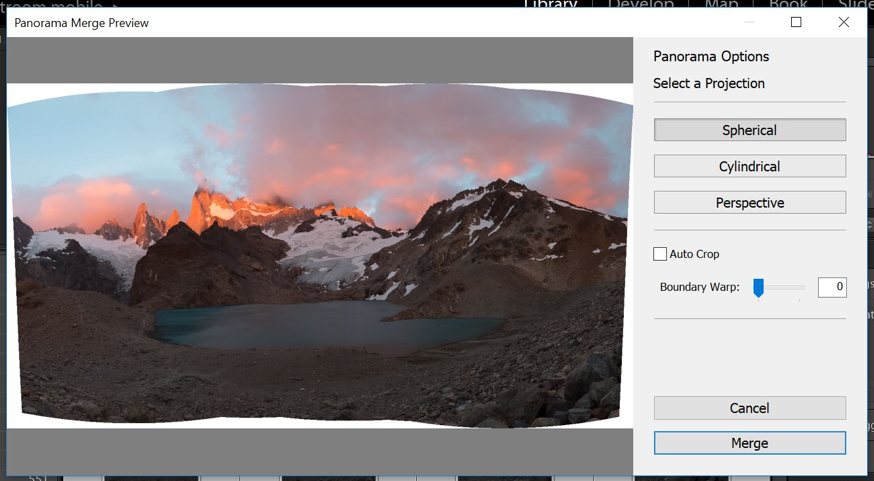
7. After a few minutes of processing, you’ll get a box that looks like this:
8. Now, here’s where the magic happens. Where it says “boundary warp,” drag the slider all the way to the right. Lightroom will magically fill in the blank sections around the edges.
9. Hit “Merge,” and—voila!—it will create a new panorama image for you that you can process to get the end result you’re going for.
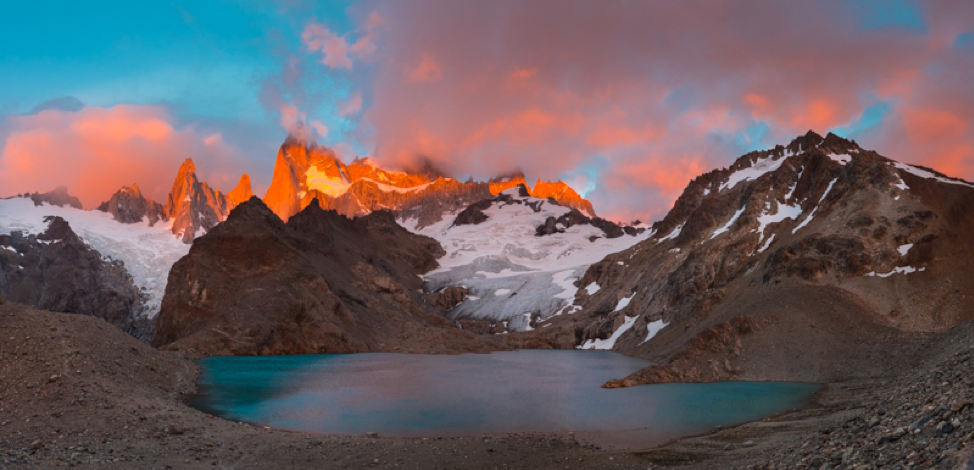
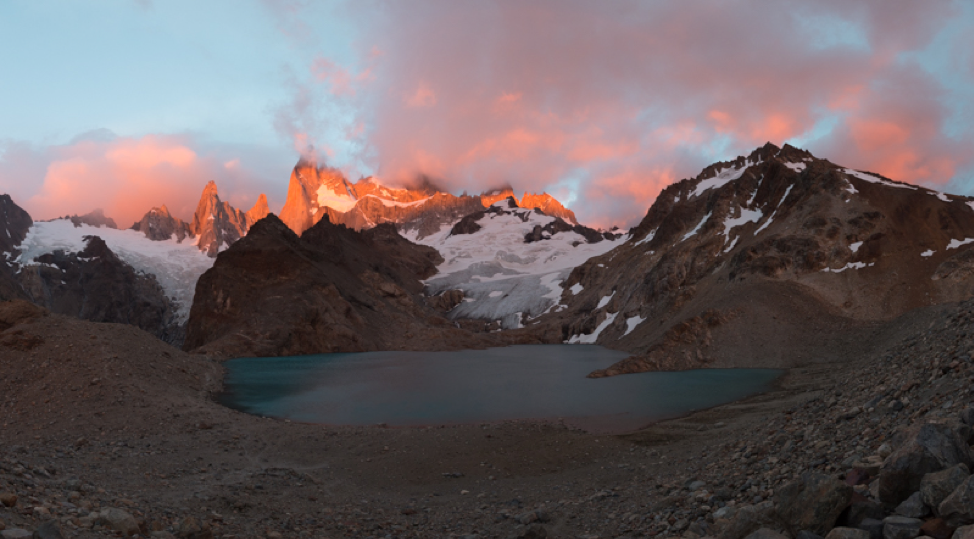
Here’s the panorama, after combining the images:
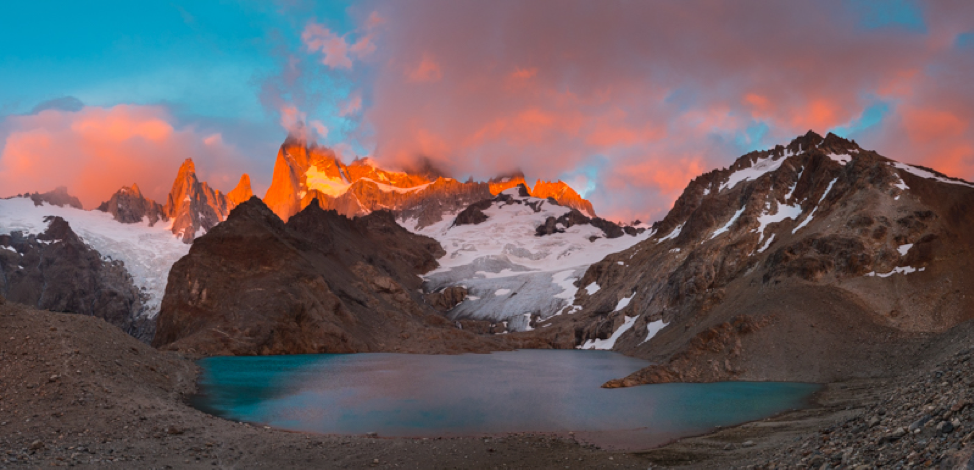
And my end result, after processing in Lightroom:
Now, go practice on something near home so that you’ll be ready to capture a great panorama when that magical sunrise happens!
Travel Photography Resources
5 Dos and 2 Don’ts for Travel Photography
Take Great Photos And Get Paid More For Your Travel Articles
Turning a Photography Hobby into a Monthly Income
The Pros Of Selling Your Images As Stock Photography
16 Mobile Photography Tips And Tricks Every Photographer Should Know

