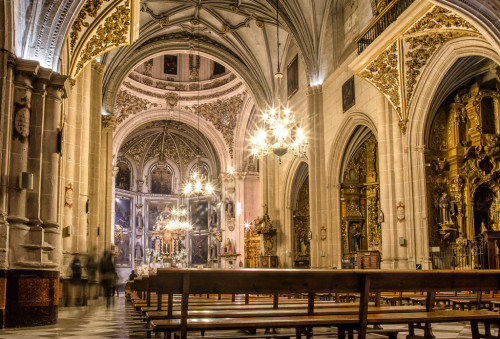
Lori calls me the master of light but that’s exactly what all photographers are really. They’re light manipulators and the best ones are called pros.
If you can learn how to manipulate light, you’ll set yourself apart, too. And here’s a great way to start…
Creating Starbursts in Your Images
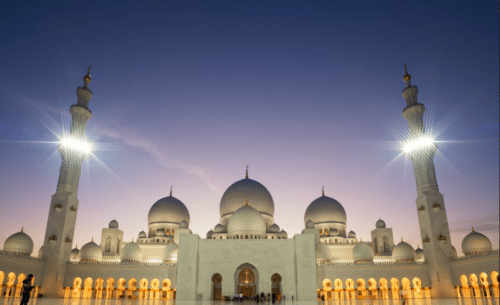
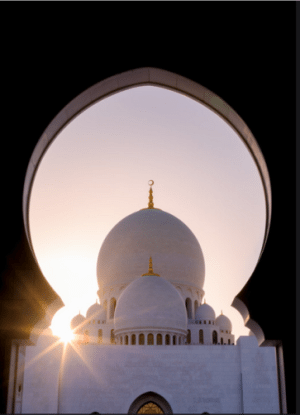
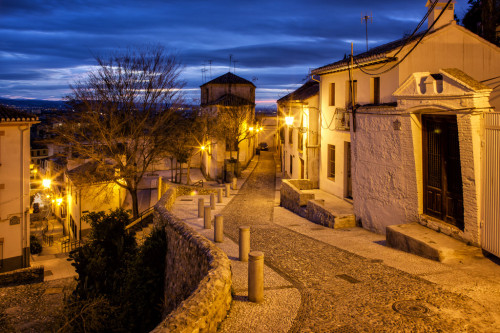
Whenever there is a small, bright source of light, there’s an opportunity to create a starburst by closing down the aperture to the smallest setting possible (highest f-stop number).
Let’s first take a look at a few of my images where I’ve done this well…
Here are a few tips to make it easier to achieve them:
Tip #1: Switch your camera to Aperture Mode or Manual Mode and set your aperture to at least f/14 or higher (up to f/22). The smaller the aperture (higher f-stop number), the more pronounced the shape of the star will be.
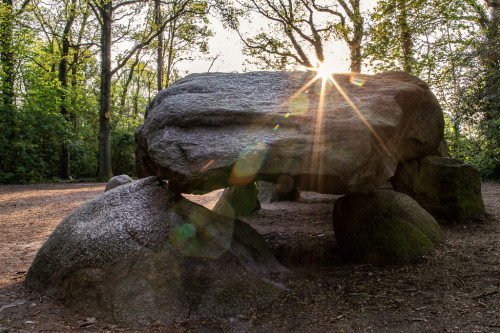
Tip #2: Crouch down, move to the side, get up high, whatever you have to do to make the light source smaller. In the photo above, the light sources are already small. But in the photo below, I made the sun smaller by crouching down to block some of it with the rock…
Note: Whenever you’re shooting against the sun, be sure to think about the safety of your eyes and your camera. If it’s too bright to see with your eyes, then it’s likely too bright for your camera. Looking directly at the sun through your viewfinder or exposing your image sensor to intense sun for more than a fraction of a second will likely do damage to both you and the camera.
Tip #3: If your telephoto lens isn’t giving you the effect you want, try shooting with less zoom and more wide angle.
The number of branches on the starbursts depends on your lens and how many aperture blades are inside. Try using different lenses to see how the shape changes.
Tip #4: Use a tripod. Especially at night and indoors. If you’re using a high f-stop number, your shutter speed will probably last a few seconds and that’s too long to hand hold your camera. For shots like these, you need a tripod.
It’s amazing what you can do with just a few camera tricks. You can also play with light at the editing stage — with software like Adobe Lightroom — as I walk you through in this post on lighting up a dark street.
Travel Photography Resources
5 Dos and 2 Don’ts for Travel Photography
Take Great Photos And Get Paid More For Your Travel Articles
Turning a Photography Hobby into a Monthly Income
The Pros Of Selling Your Images As Stock Photography
16 Mobile Photography Tips And Tricks Every Photographer Should Know

