It’s Day 3 here in Paris and I just showed Hannah (the 10-year-old traveling with me on this trip) a little trick… When you want your subject in focus, but you want it on the rule of thirds and outside of the center of your image, you can sometimes put your subject in the center, half-way depress the camera shutter button, recompose to put your subject out of the center, and then press the camera shutter button the rest of the way down to snap the picture. (Really, it’s not as tricky as it sounds. You just need to play around with it a few times.) If your camera is set to center-spot focus (the default on lots of cameras), this will allow you to hold the focus on your subject even when your subject isn’t in the center spot. And the same trick works for exposure, too. When you’re in a situation of extreme light and dark, you sometimes want your image to expose for what’s in front of you (your subject) and not the background. But your camera will try and meter for both. Take a look at these photos for example… 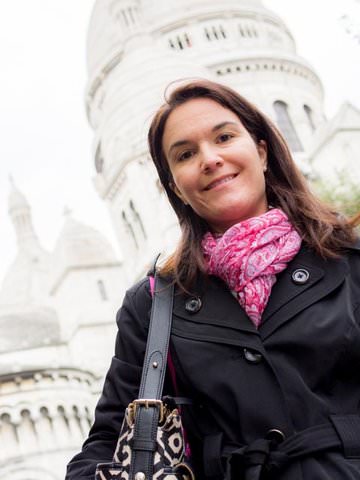
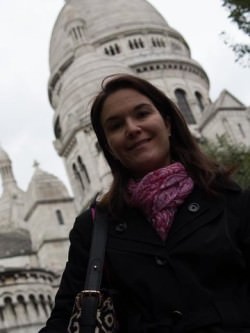 If I point my camera up at the sky, the light meter inside will try and expose the photo for the super bright sky, making my subject way too dark. I could adjust my settings. Or I can simply aim my camera at my subject and let my camera expose for her, then halfway depress the camera shutter button, recompose, and then press it down the remaining way. It’s not a perfect result in this example — my sky is too bright in that first photo. But again, it’s a quick fix in a difficult situation and my subject is what I care about most. In terms of saleability, an online stock agency might care (they’re really picky about technical specifics because they only want to accept technically perfect photos they think they can sell again and again) but other photo buyers like magazines, newspapers, and websites probably won’t mind. It all depends on your photo editor and the look and feel of the publication you’re selling to. Worst case, you’ll get a better photo to represent your vacation. Best case, that photo will earn you an extra $50-$500. Find my next tip from Paris here. Share on Facebook
Travel Photography Resources
5 Dos and 2 Don’ts for Travel Photography
Take Great Photos And Get Paid More For Your Travel Articles
Turning a Photography Hobby into a Monthly Income
The Pros Of Selling Your Images As Stock Photography
16 Mobile Photography Tips And Tricks Every Photographer Should Know
