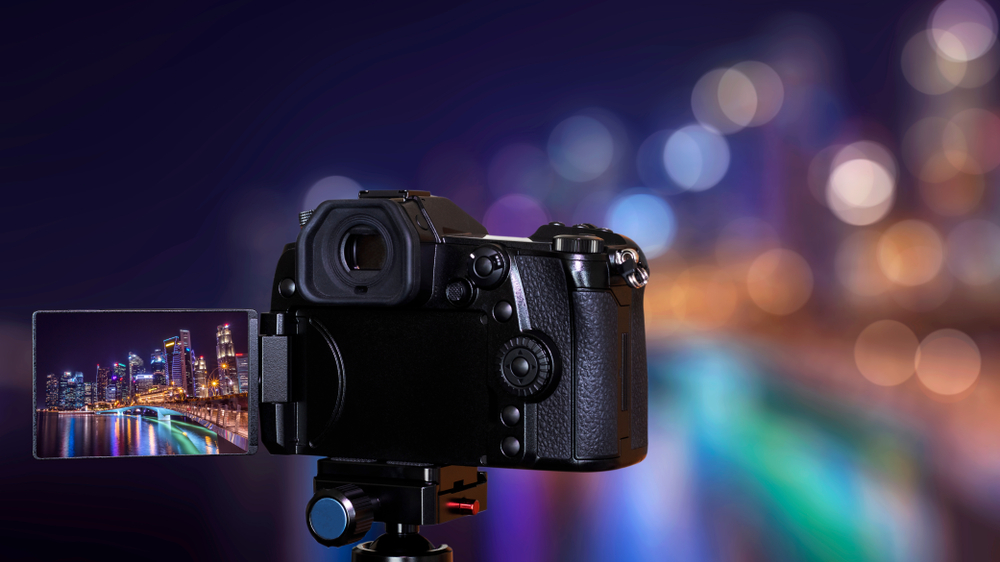
Did you know your camera can see in the dark?
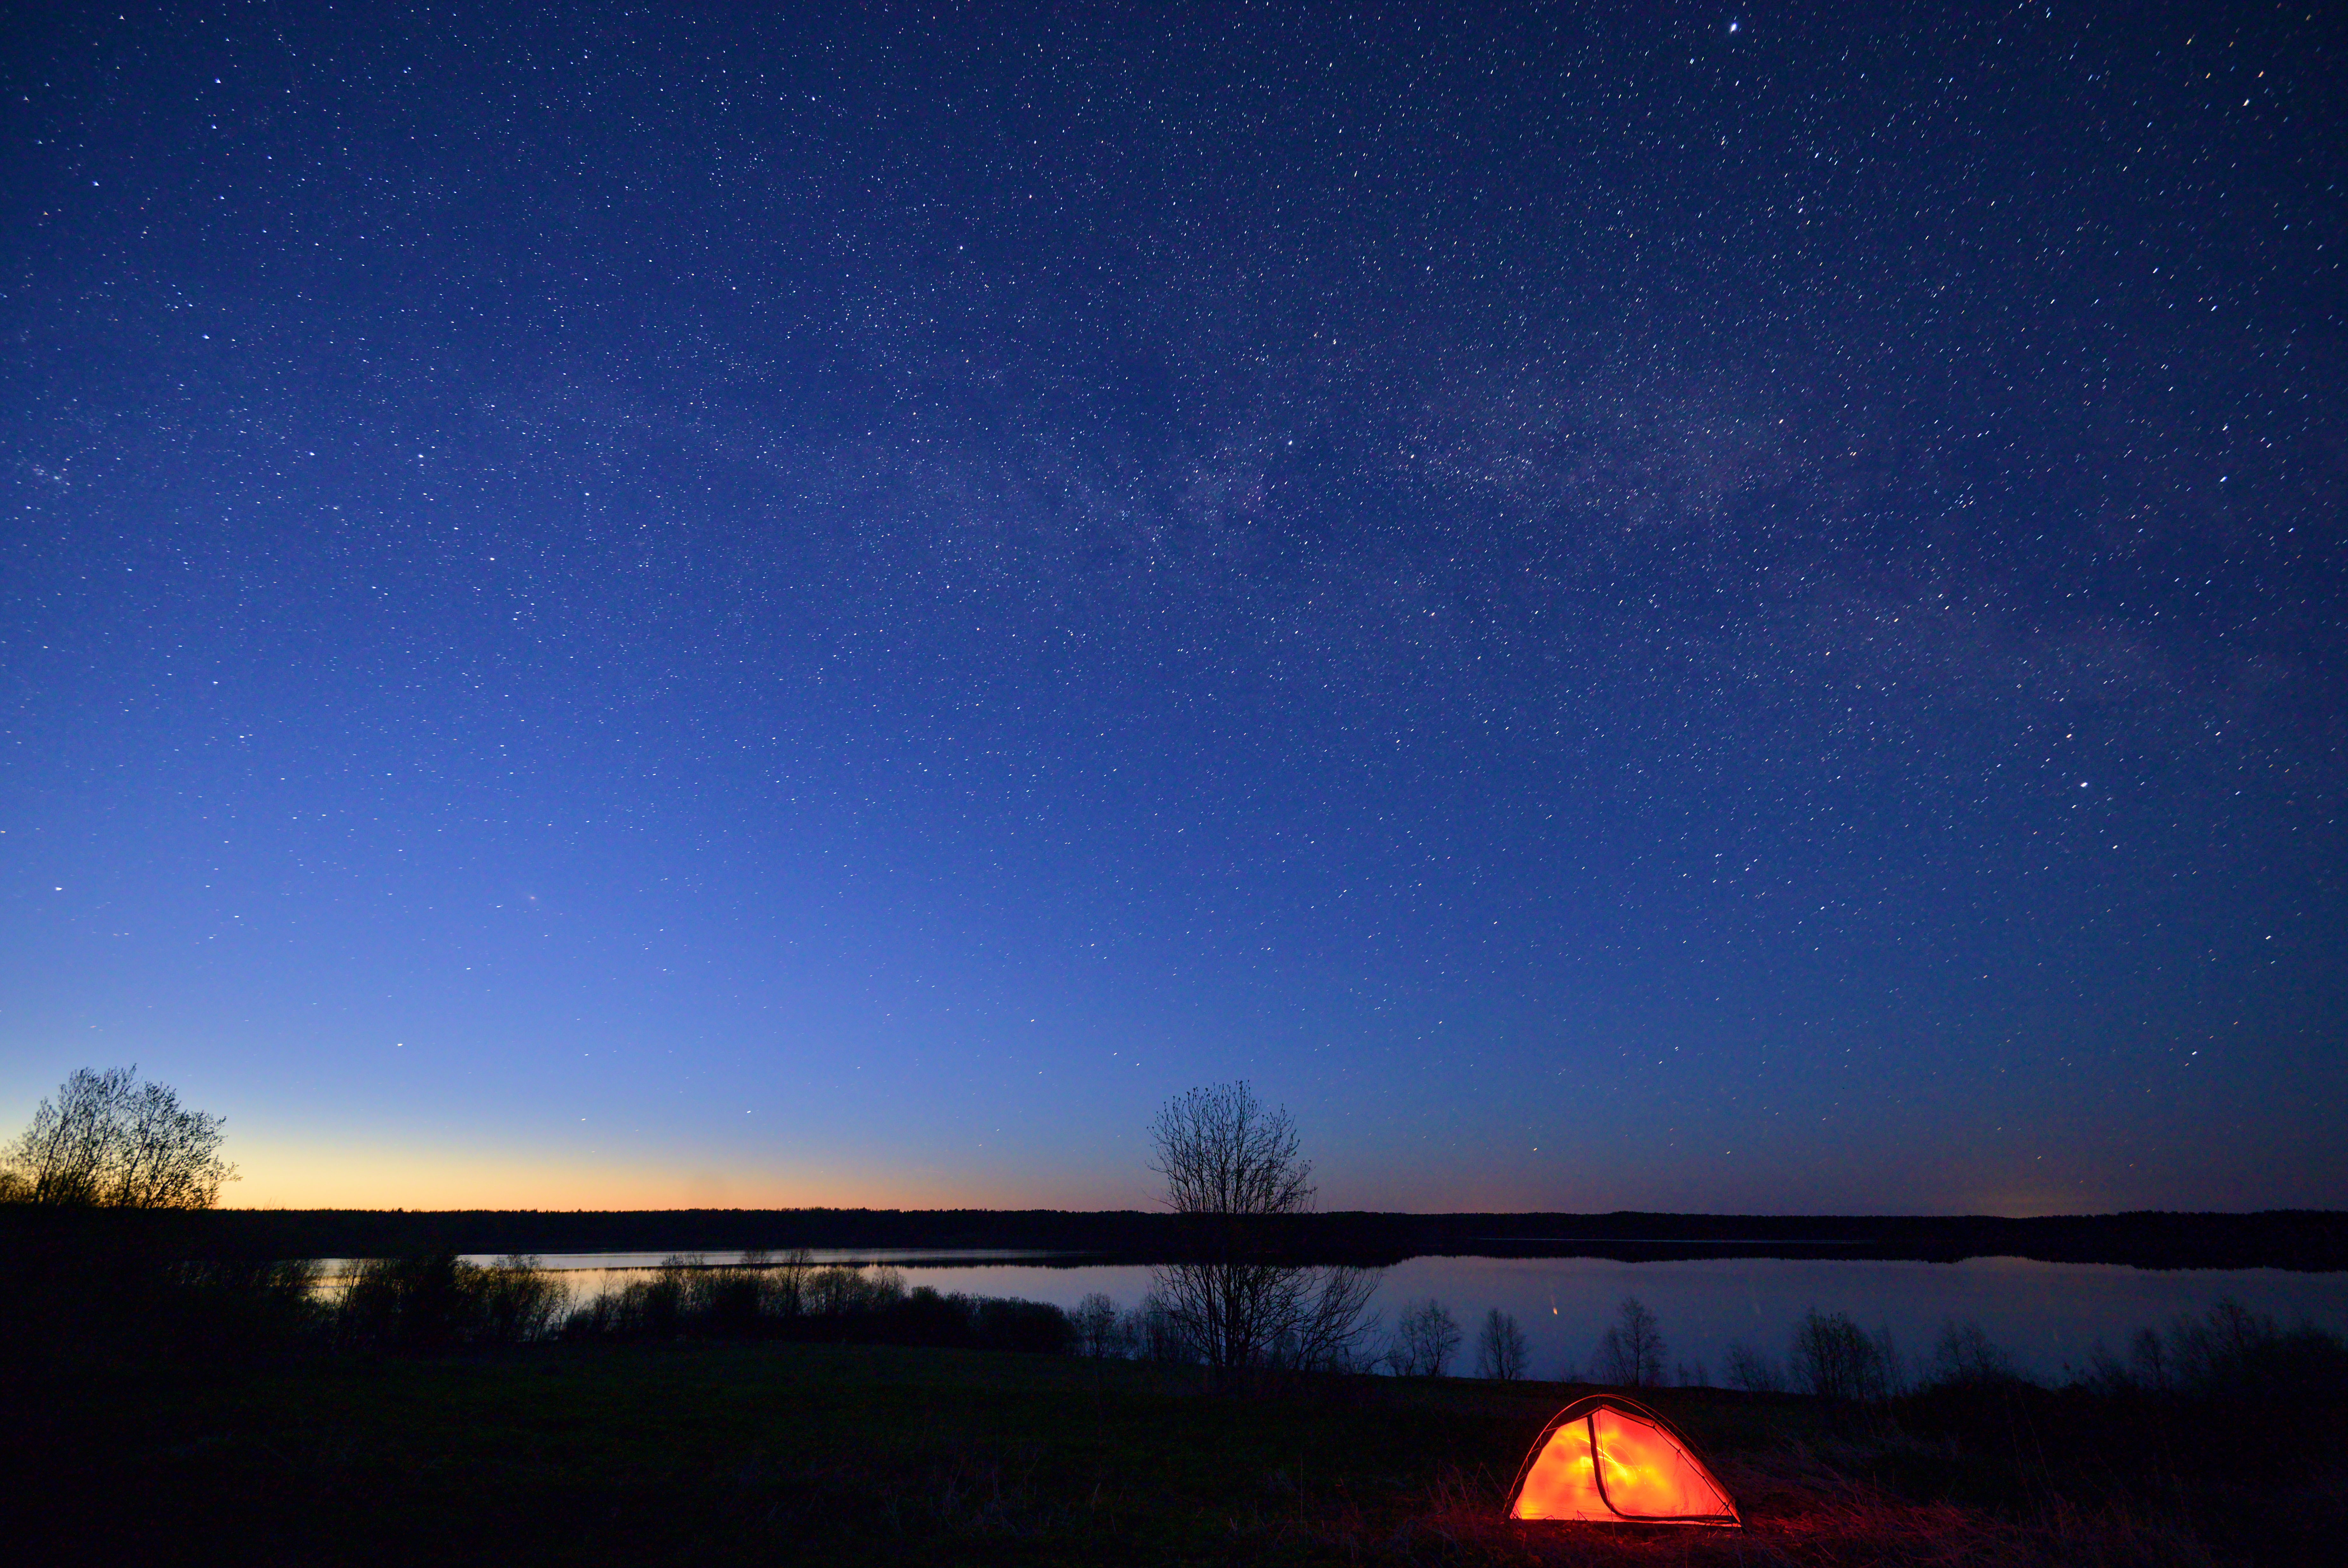
Even when you can’t see much with your own eyes, your camera has the ability to capture an amazing amount of detail in the darkness.
So just because the sun has set, it doesn’t mean you have to put your camera away. In fact, low light opens up a whole world of creative potential that wouldn’t be possible during the day!
However, shooting in low light conditions isn’t the same as daytime photography. To do it well you need to consider several important camera settings.
With that in mind, here are eight tips for shooting fantastic low light images:
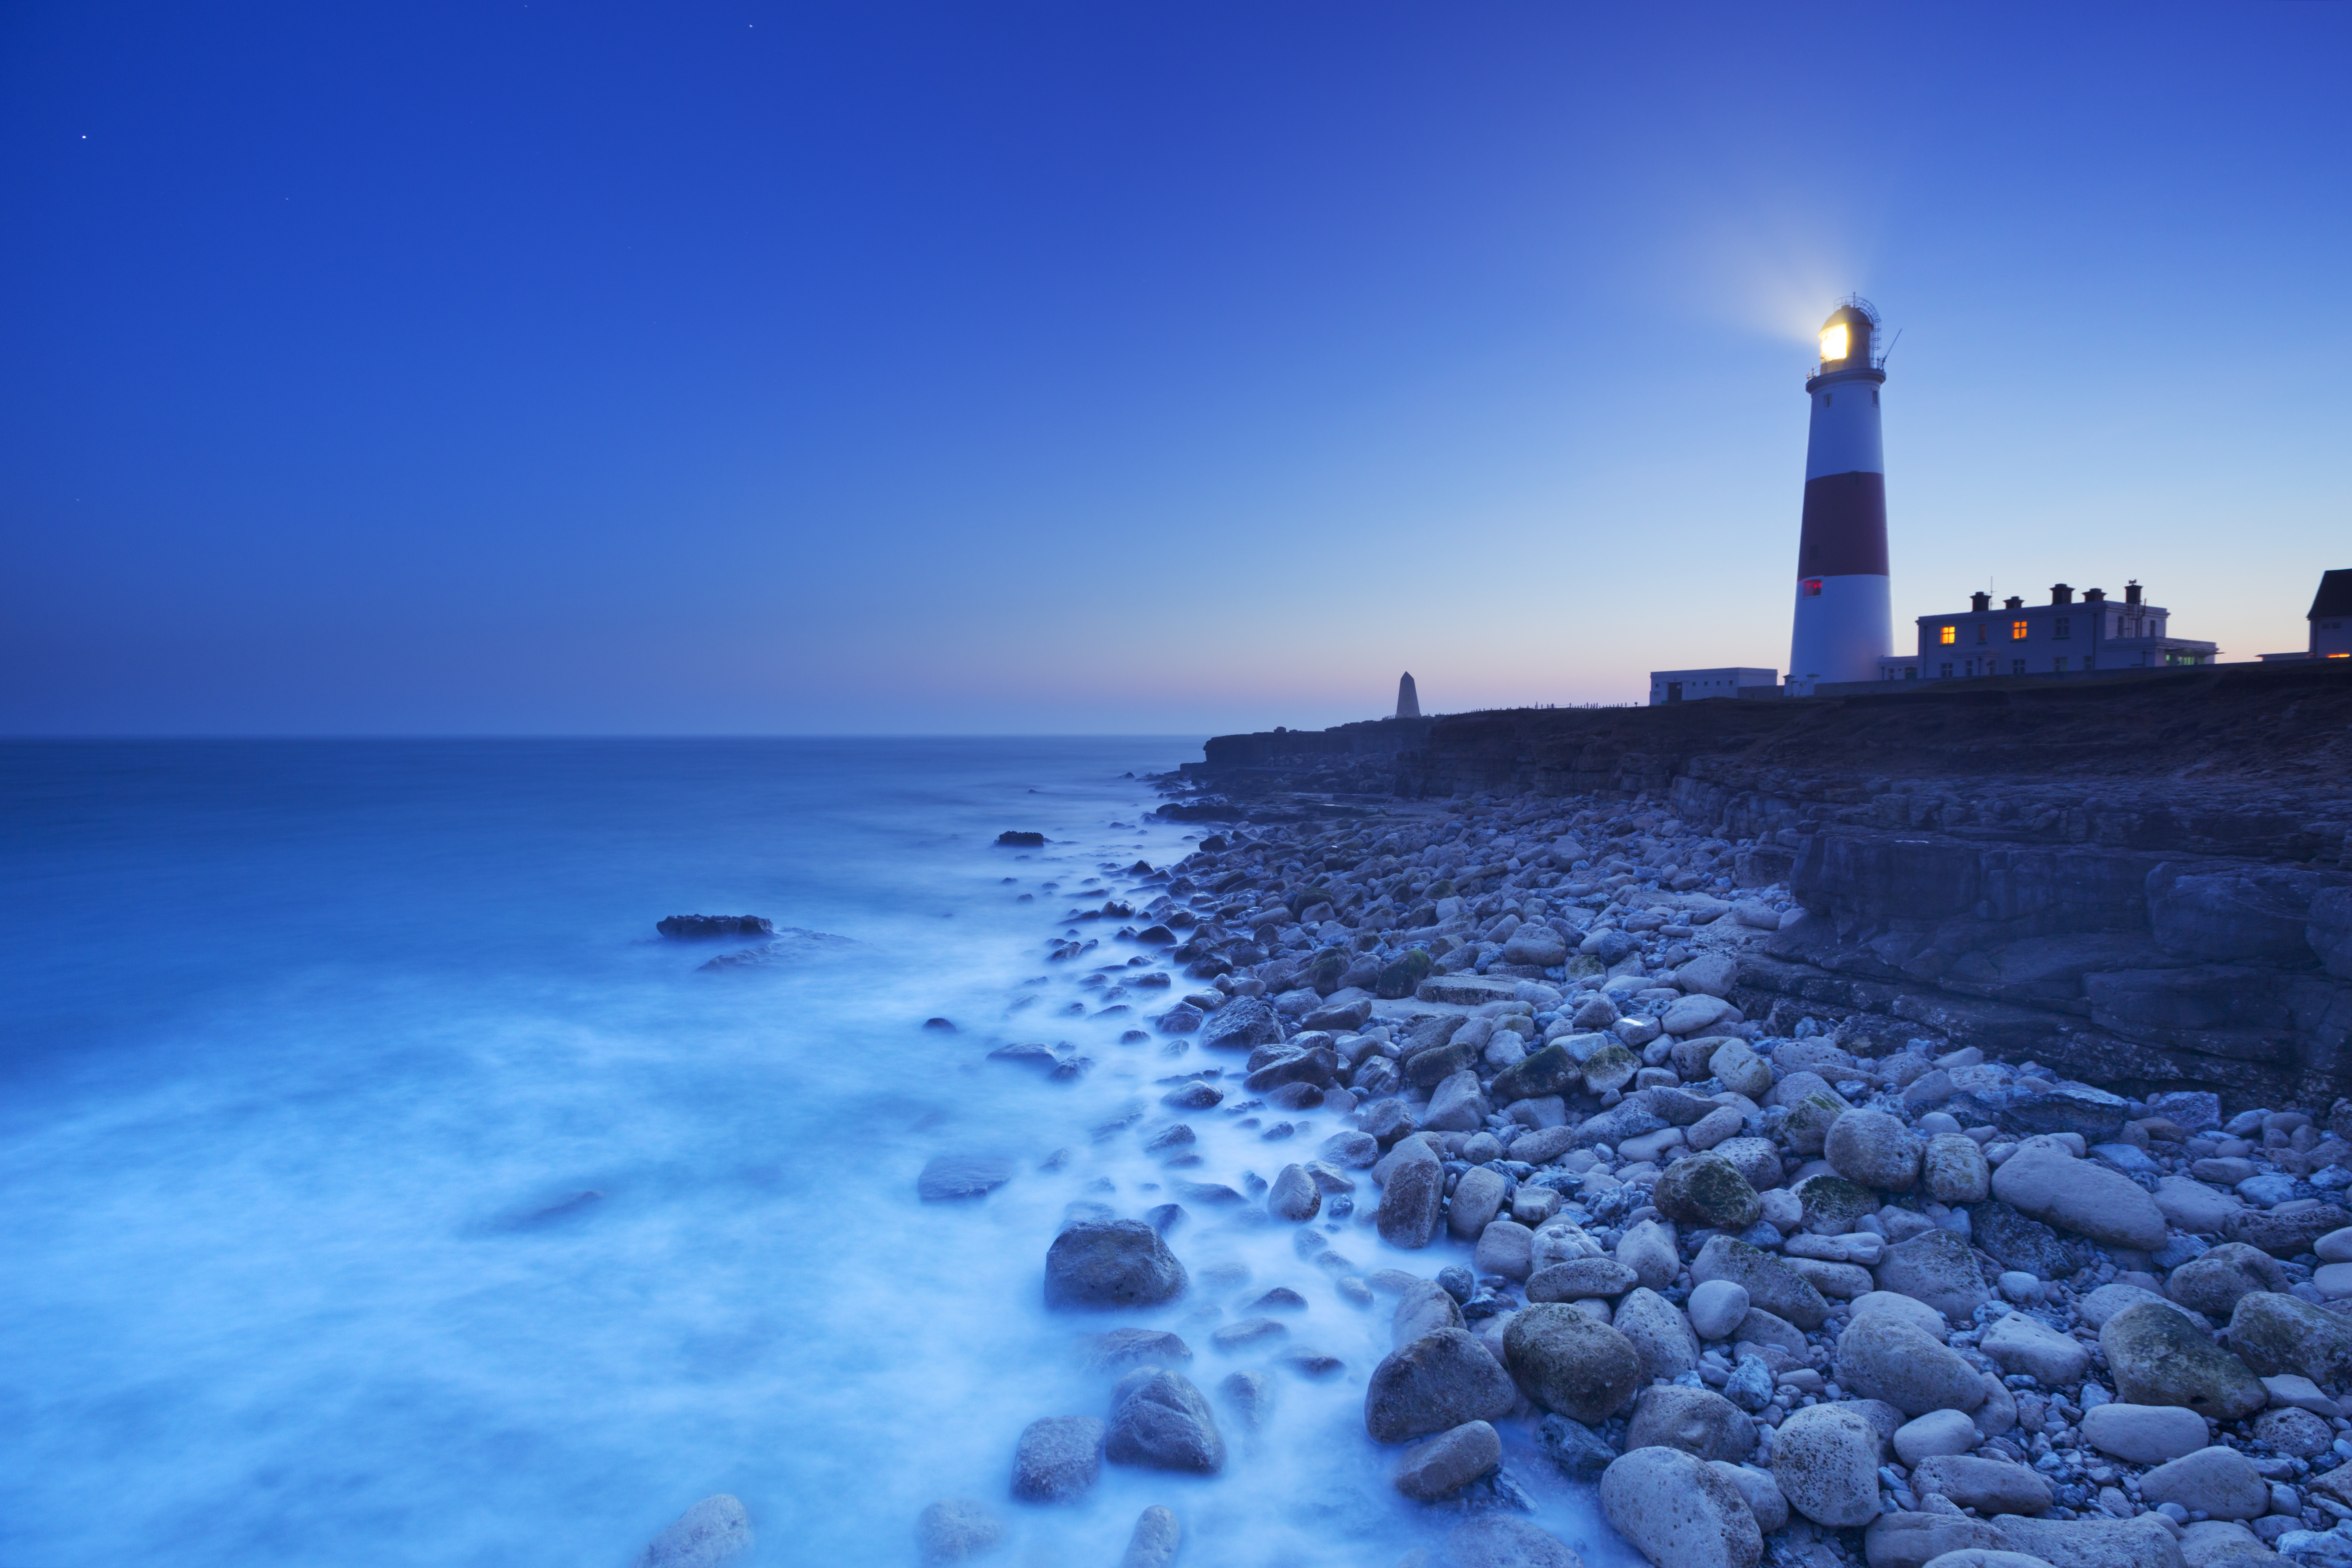
1. Do the prep work. A little planning goes a long way. Look up the sunrise and sunset times so that you can plan to be out earlier and later during “blue hour.” This is the time when the sky turns an awesome, cobalt blue color. Installing a phone app such as Moon Seeker or Photo Pills makes it easy to figure out the timing. It’s also a good idea to scout your location beforehand to figure out your ideal composition during daylight hours.
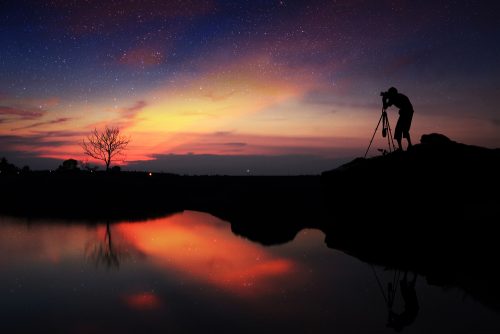
2. Prevent camera shake with a tripod.
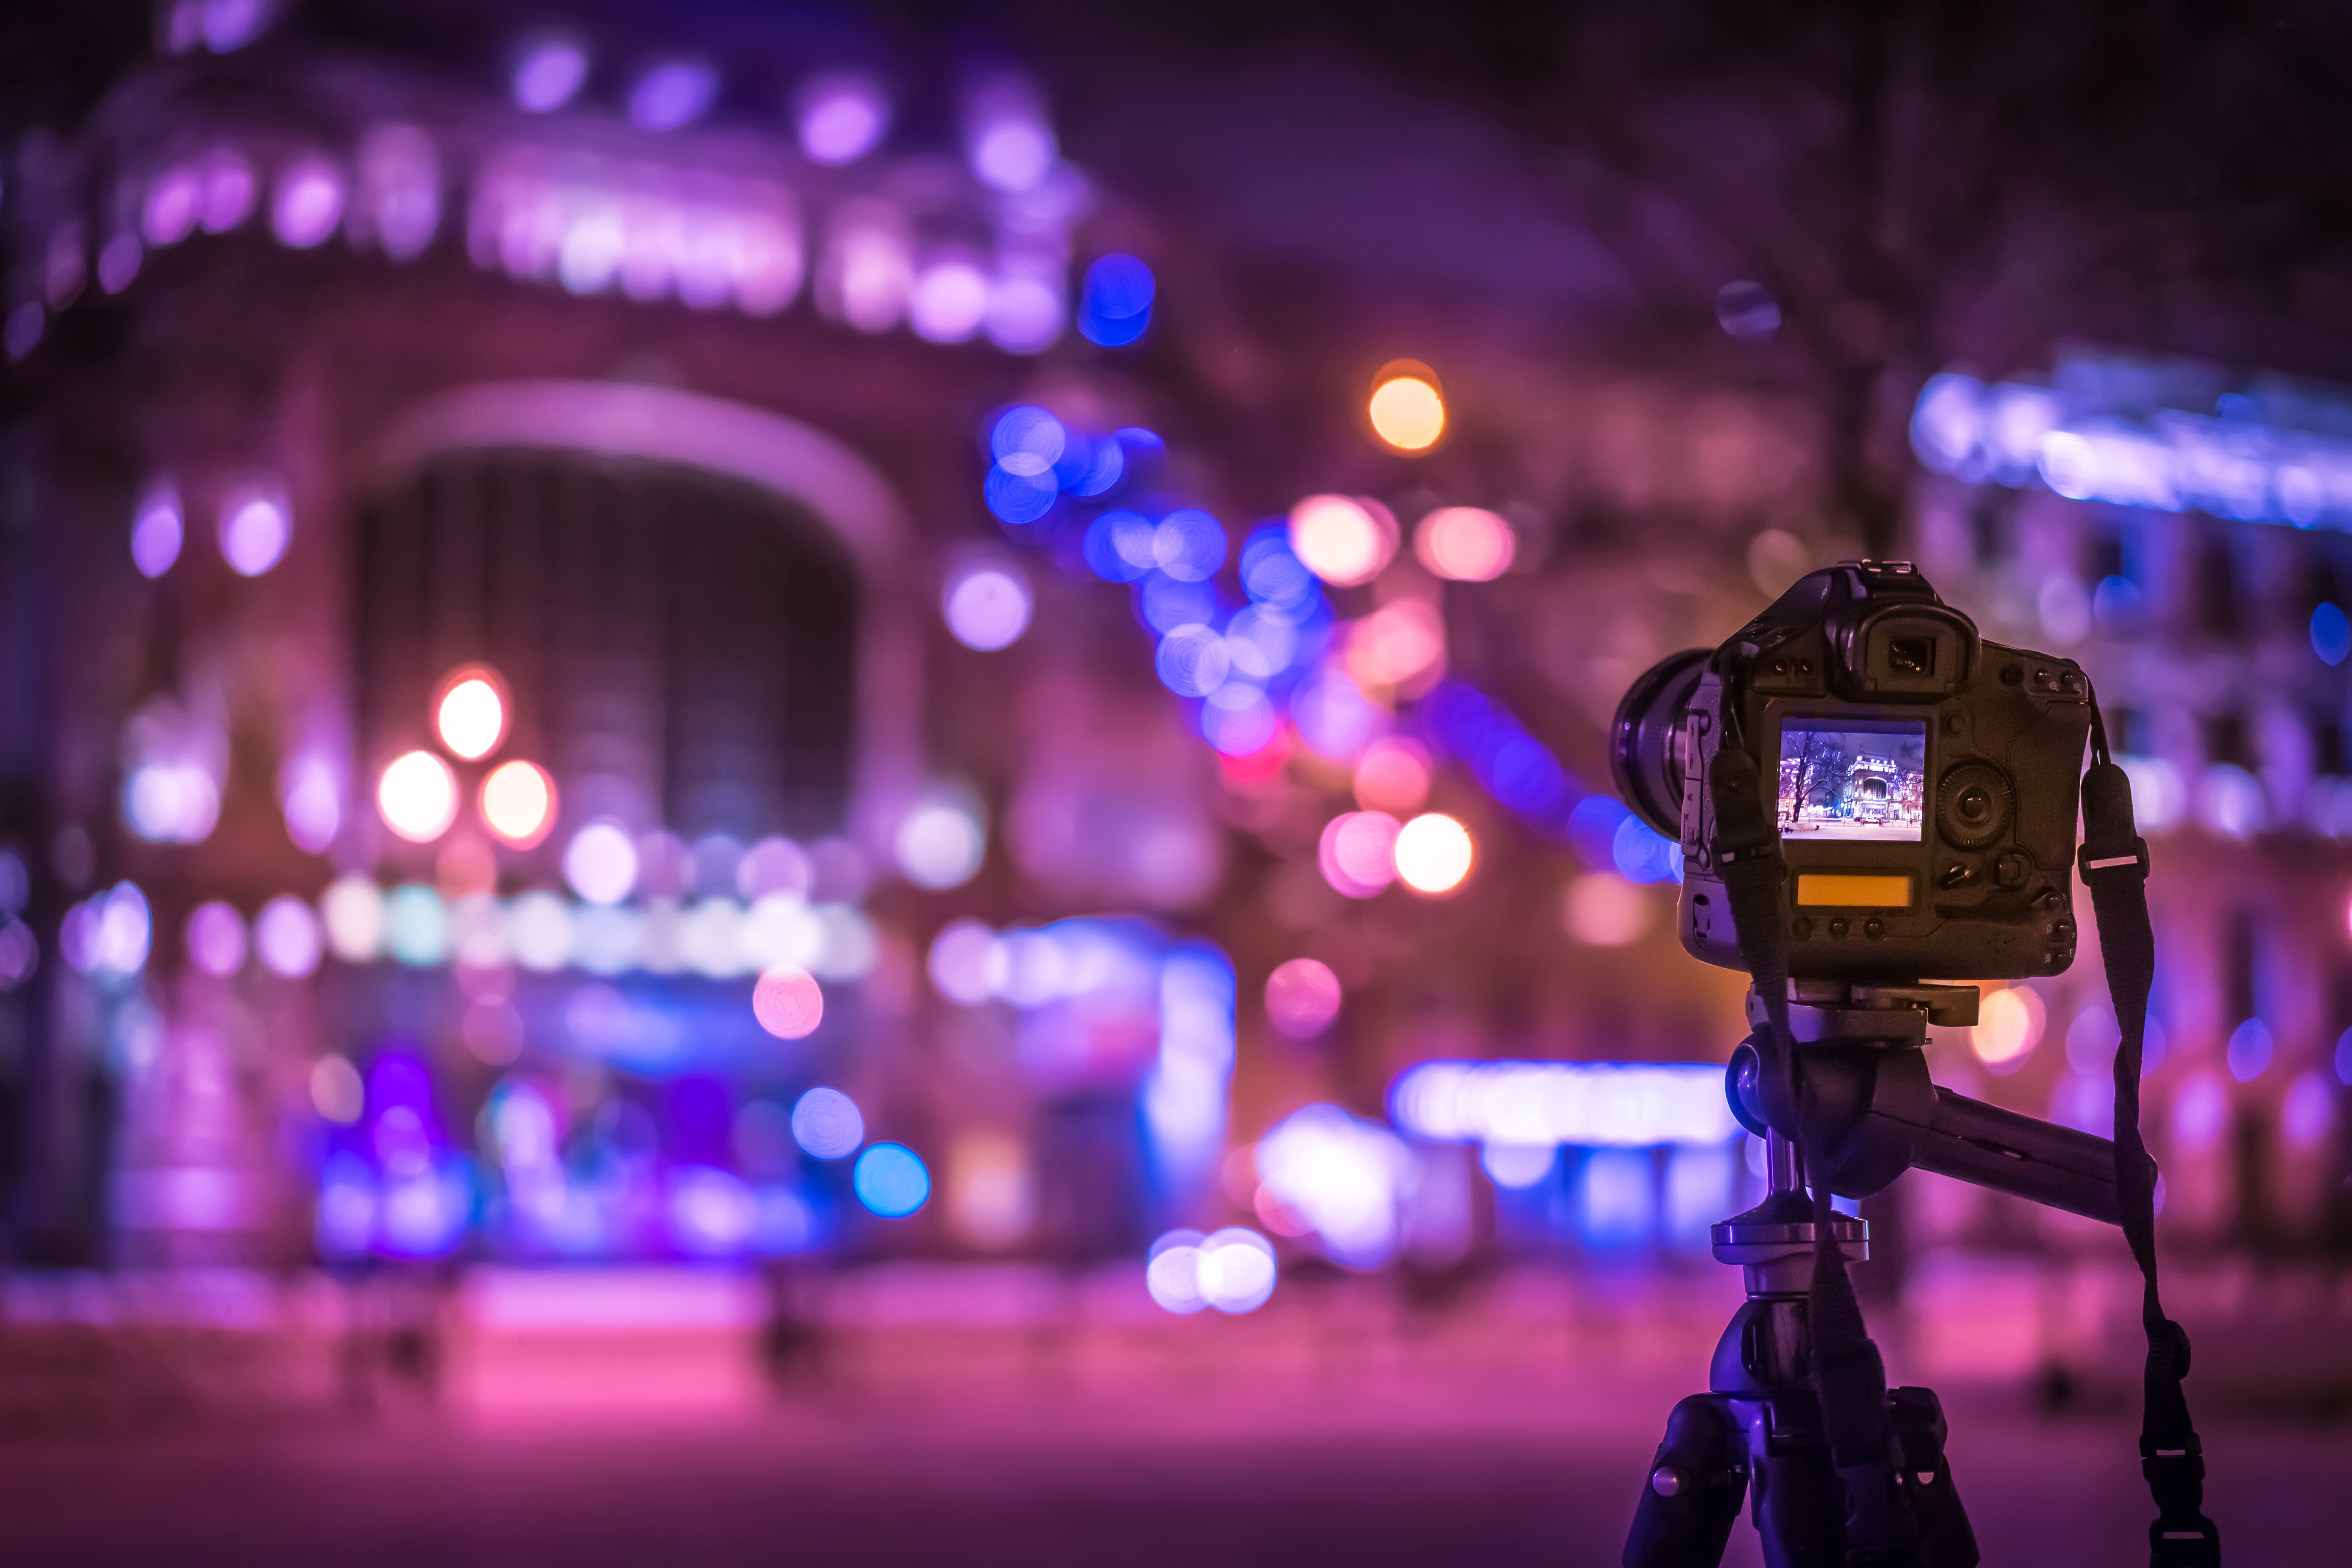
For low light photography, a tripod is your best friend! Under low light conditions, you’ll be using slower shutter speeds, so you have to use a tripod to avoid camera shake and get sharp images. If your lens has a switch for image stabilisation (vibration reduction), be sure to turn it off when you’re using a tripod, as this might actually cause camera shake.
However, if you do find yourself hand-holding your camera with low light, be sure to turn on image stabilisation and hold as still as possible to stabilise yourself.
Under low light conditions, you may also find that your camera’s autofocus system struggles to work properly. For this reason, manual focus is often better for low light photography.
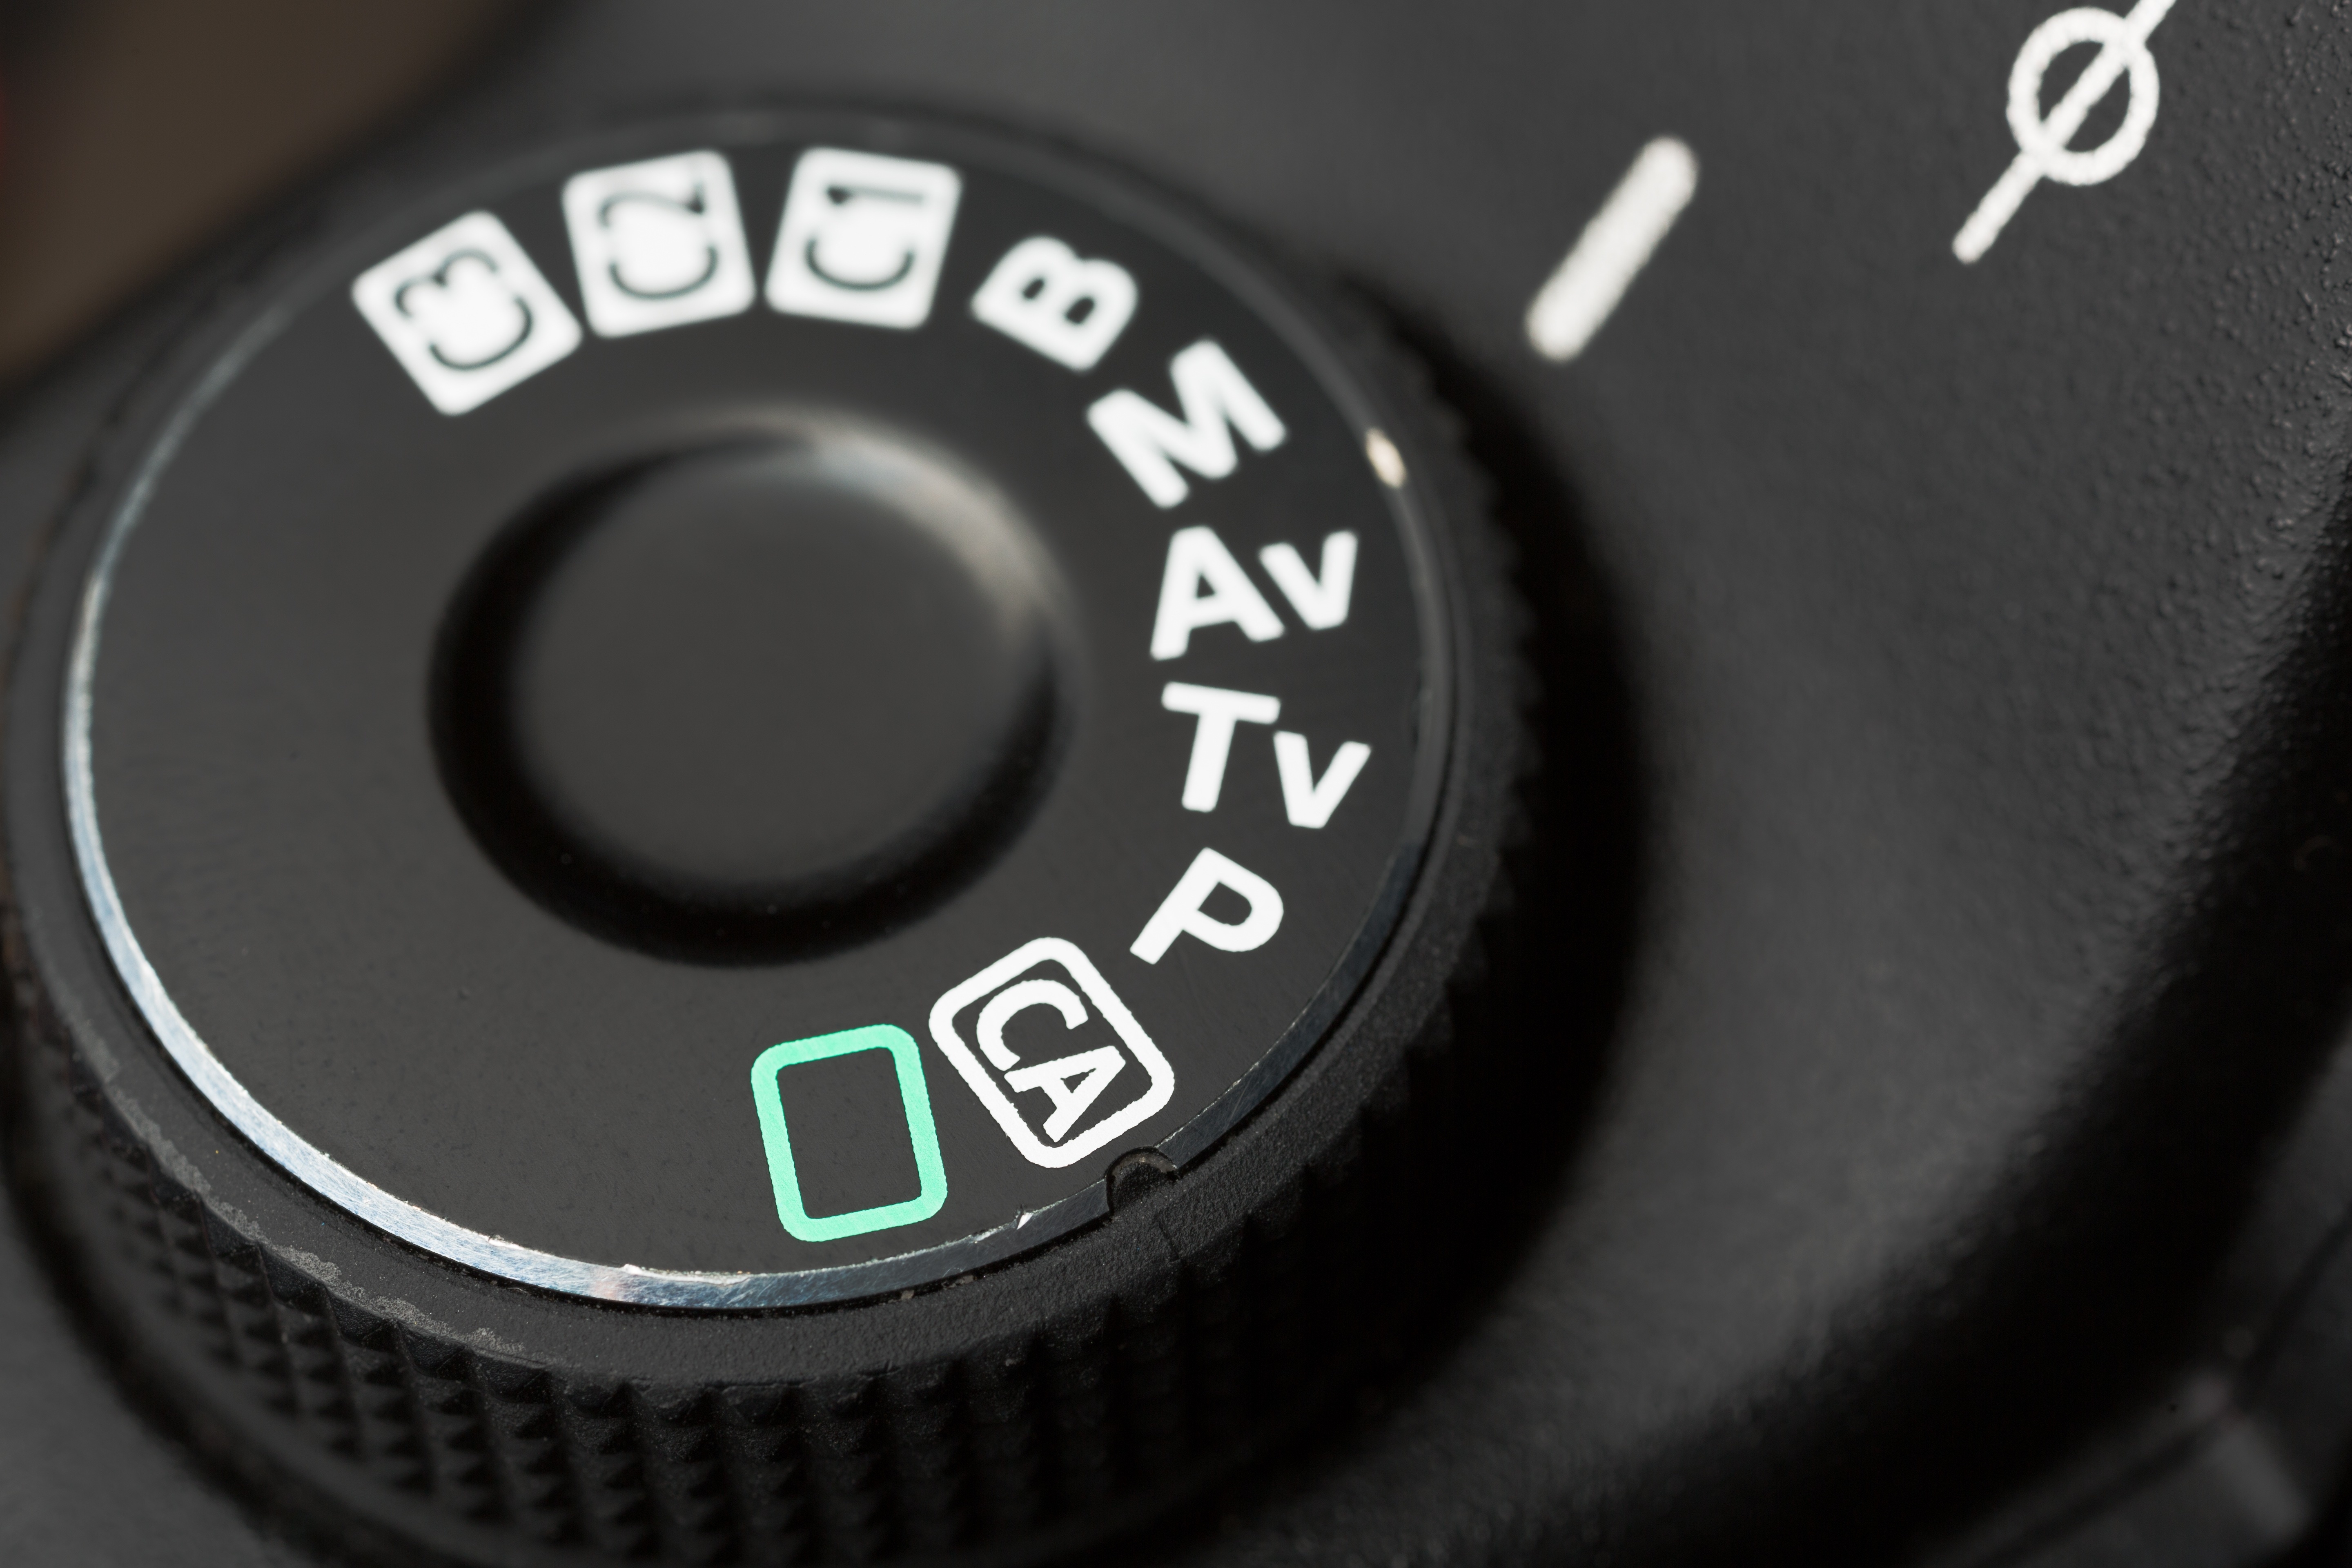
3. Use shutter priority or full manual mode. For low light photography, you’ll likely want to intentionally choose your shutter speed so that you can either blur or freeze motion for creative effect. Selecting a slow shutter speed such as 1 second will blur motion, while selecting a high shutter speed such as 1/500th of a second will freeze motion. You can adjust your shutter speed by using either shutter priority mode (TV or S on the top dial) or manual exposure (M) mode.
4. A noisy picture is usually better than a blurry picture. Don’t be afraid to raise your ISO in order to get a fast enough shutter speed to freeze motion. Sure, using a higher ISO may create some “digital noise” or grain in your photo, but that’s way better than having a blurry subject. Also, if you shoot in Raw and process using Adobe Lightroom, you can easily remove some of the noise that’s created by using a higher ISO number.
5. Know your gear: how high is too high for ISO? Knowing how far you can raise your ISO is really helpful for low light photography. Some cameras do better than others at high ISO’s, although most cameras do ok up until about ISO 1600. Do a test on your particular camera where you shoot a series of images using your full range of ISO settings. Then, put that series of images on your computer to determine at what point your camera creates an unusable amount of ISO. This is where having a large sensor camera (full frame) is an advantage, as larger sensors perform better at higher ISO’s.
6. Open up your aperture camera setting. For low light or night photography, you’ll want to use a wide aperture opening, such as f/2.8 or f/4 to let in the most light possible. Lenses that have a very wide aperture such as f/2.8 or f/1.4 are known as faster lenses because they let in a lot of light, which means you’ll be able to use faster shutter speeds which is helpful for freezing motion. Check your particular lens to see how wide the aperture opens as this will vary.
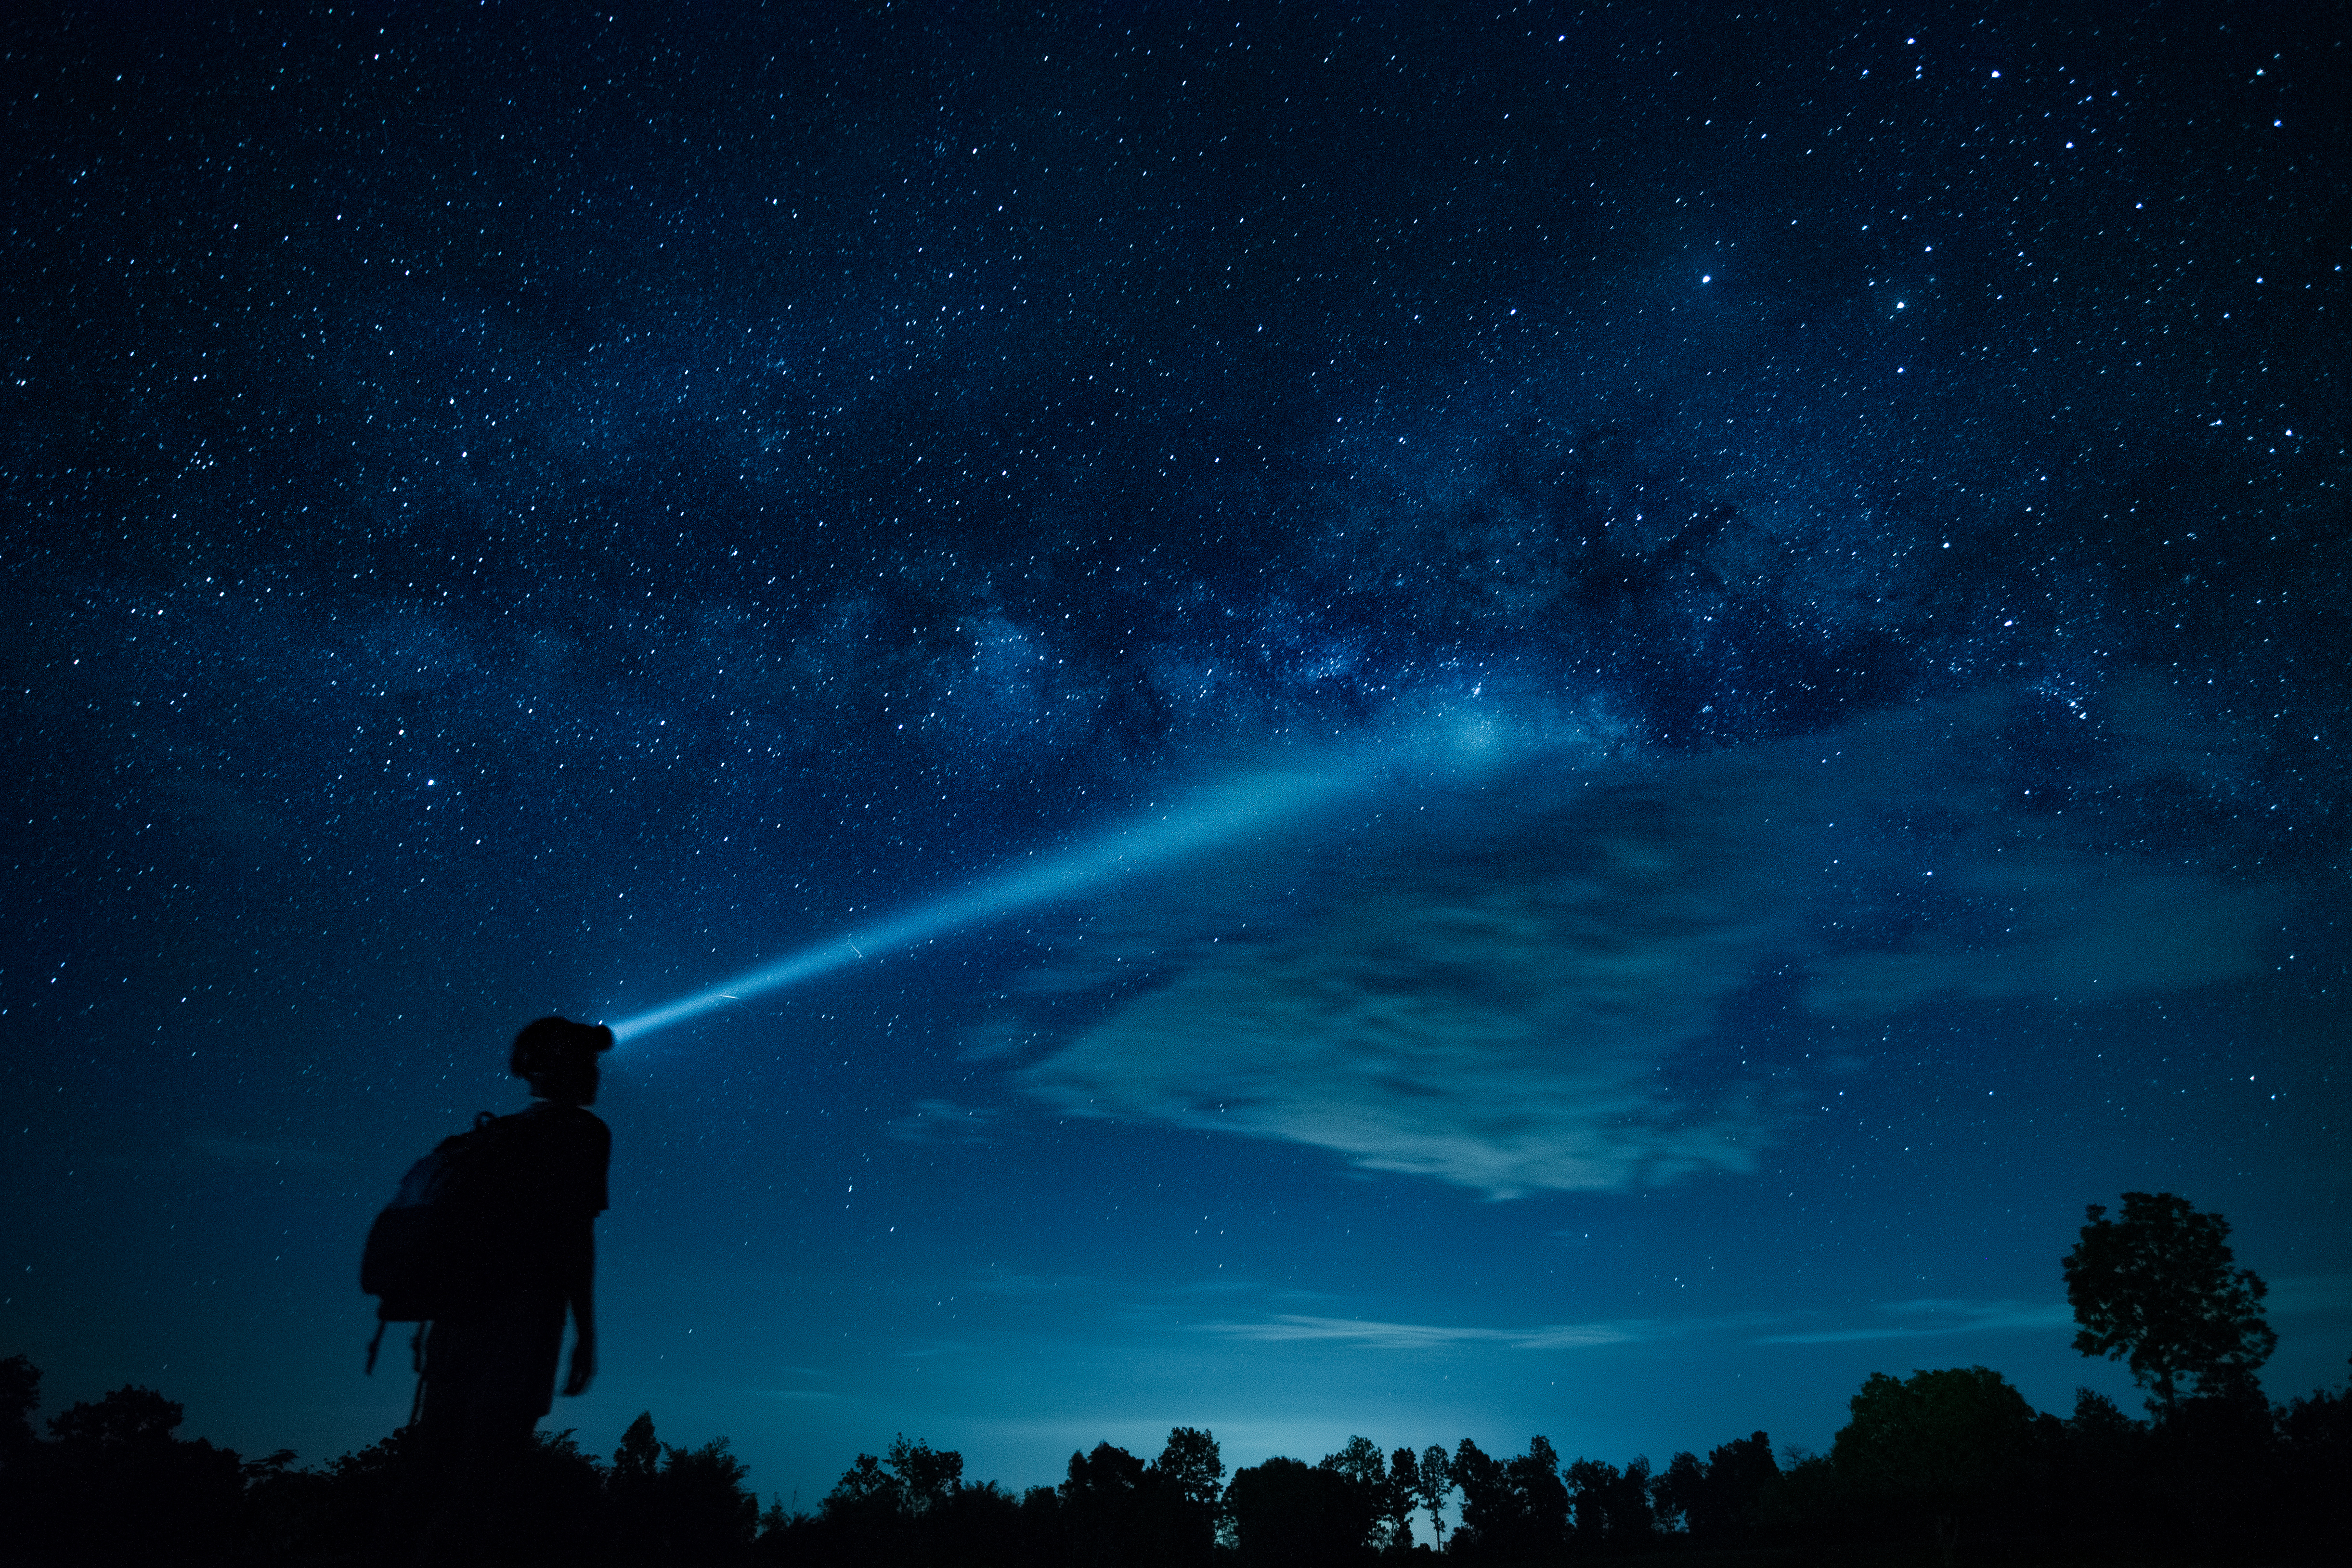
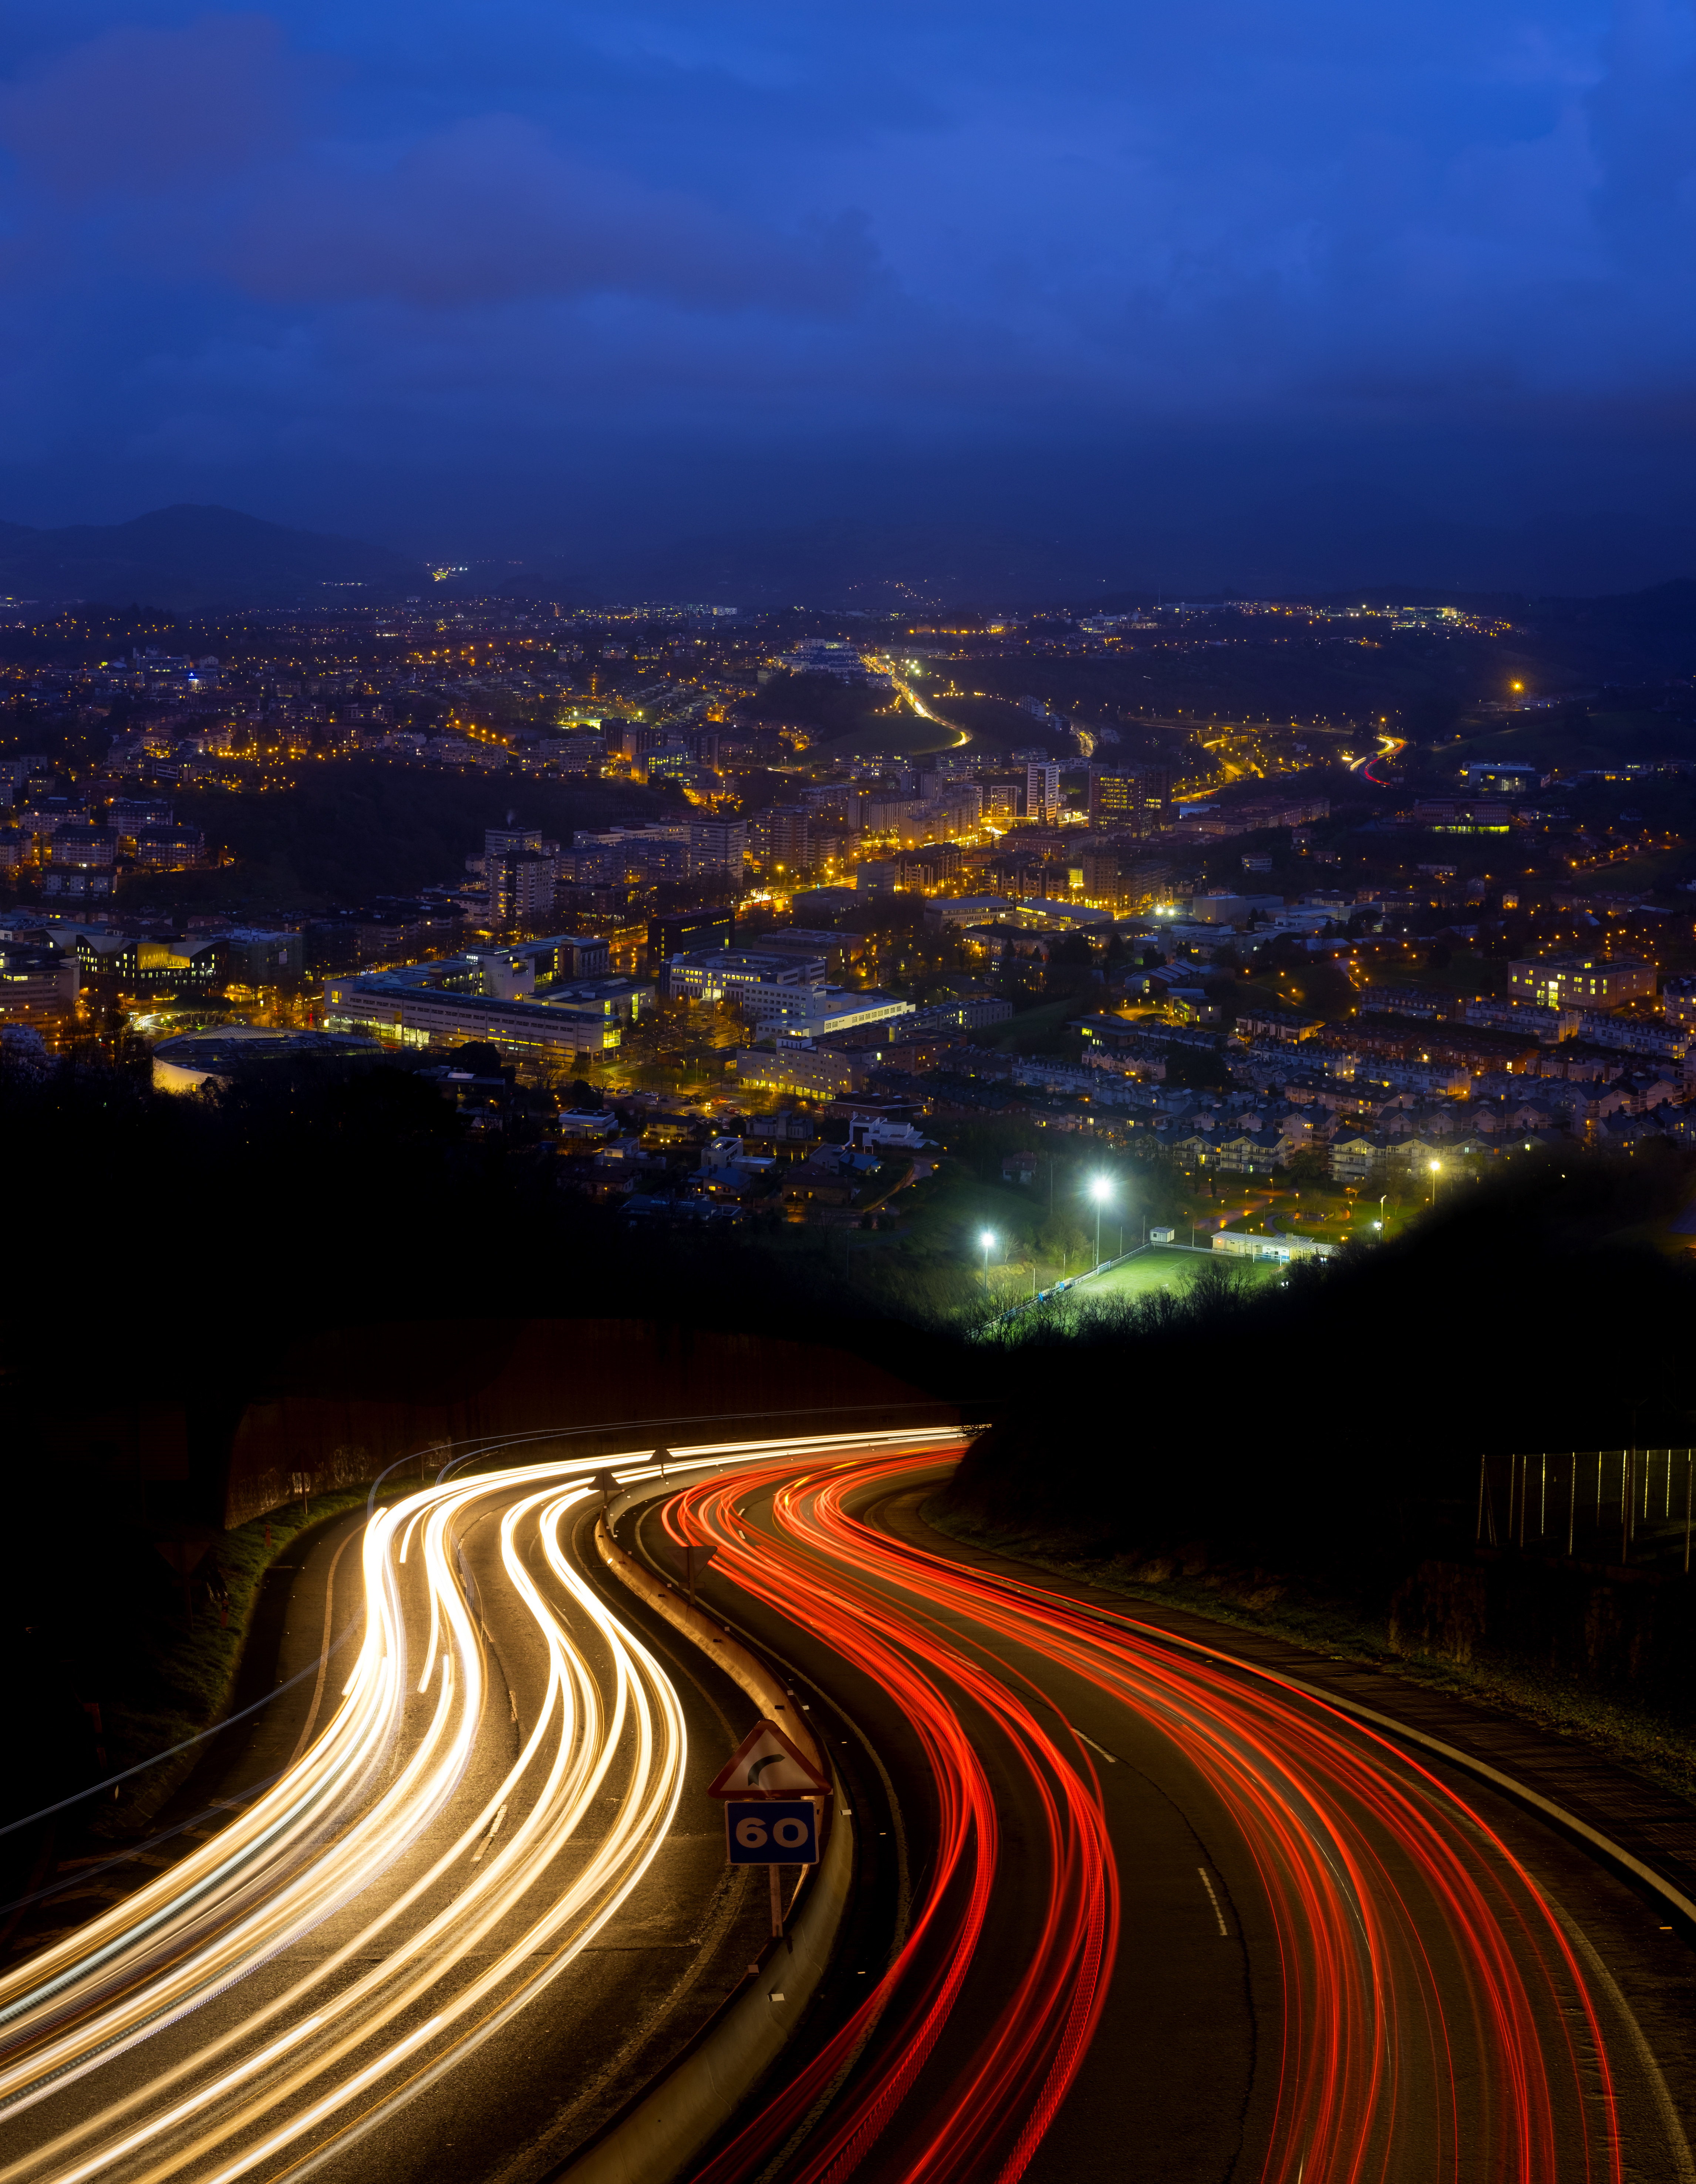
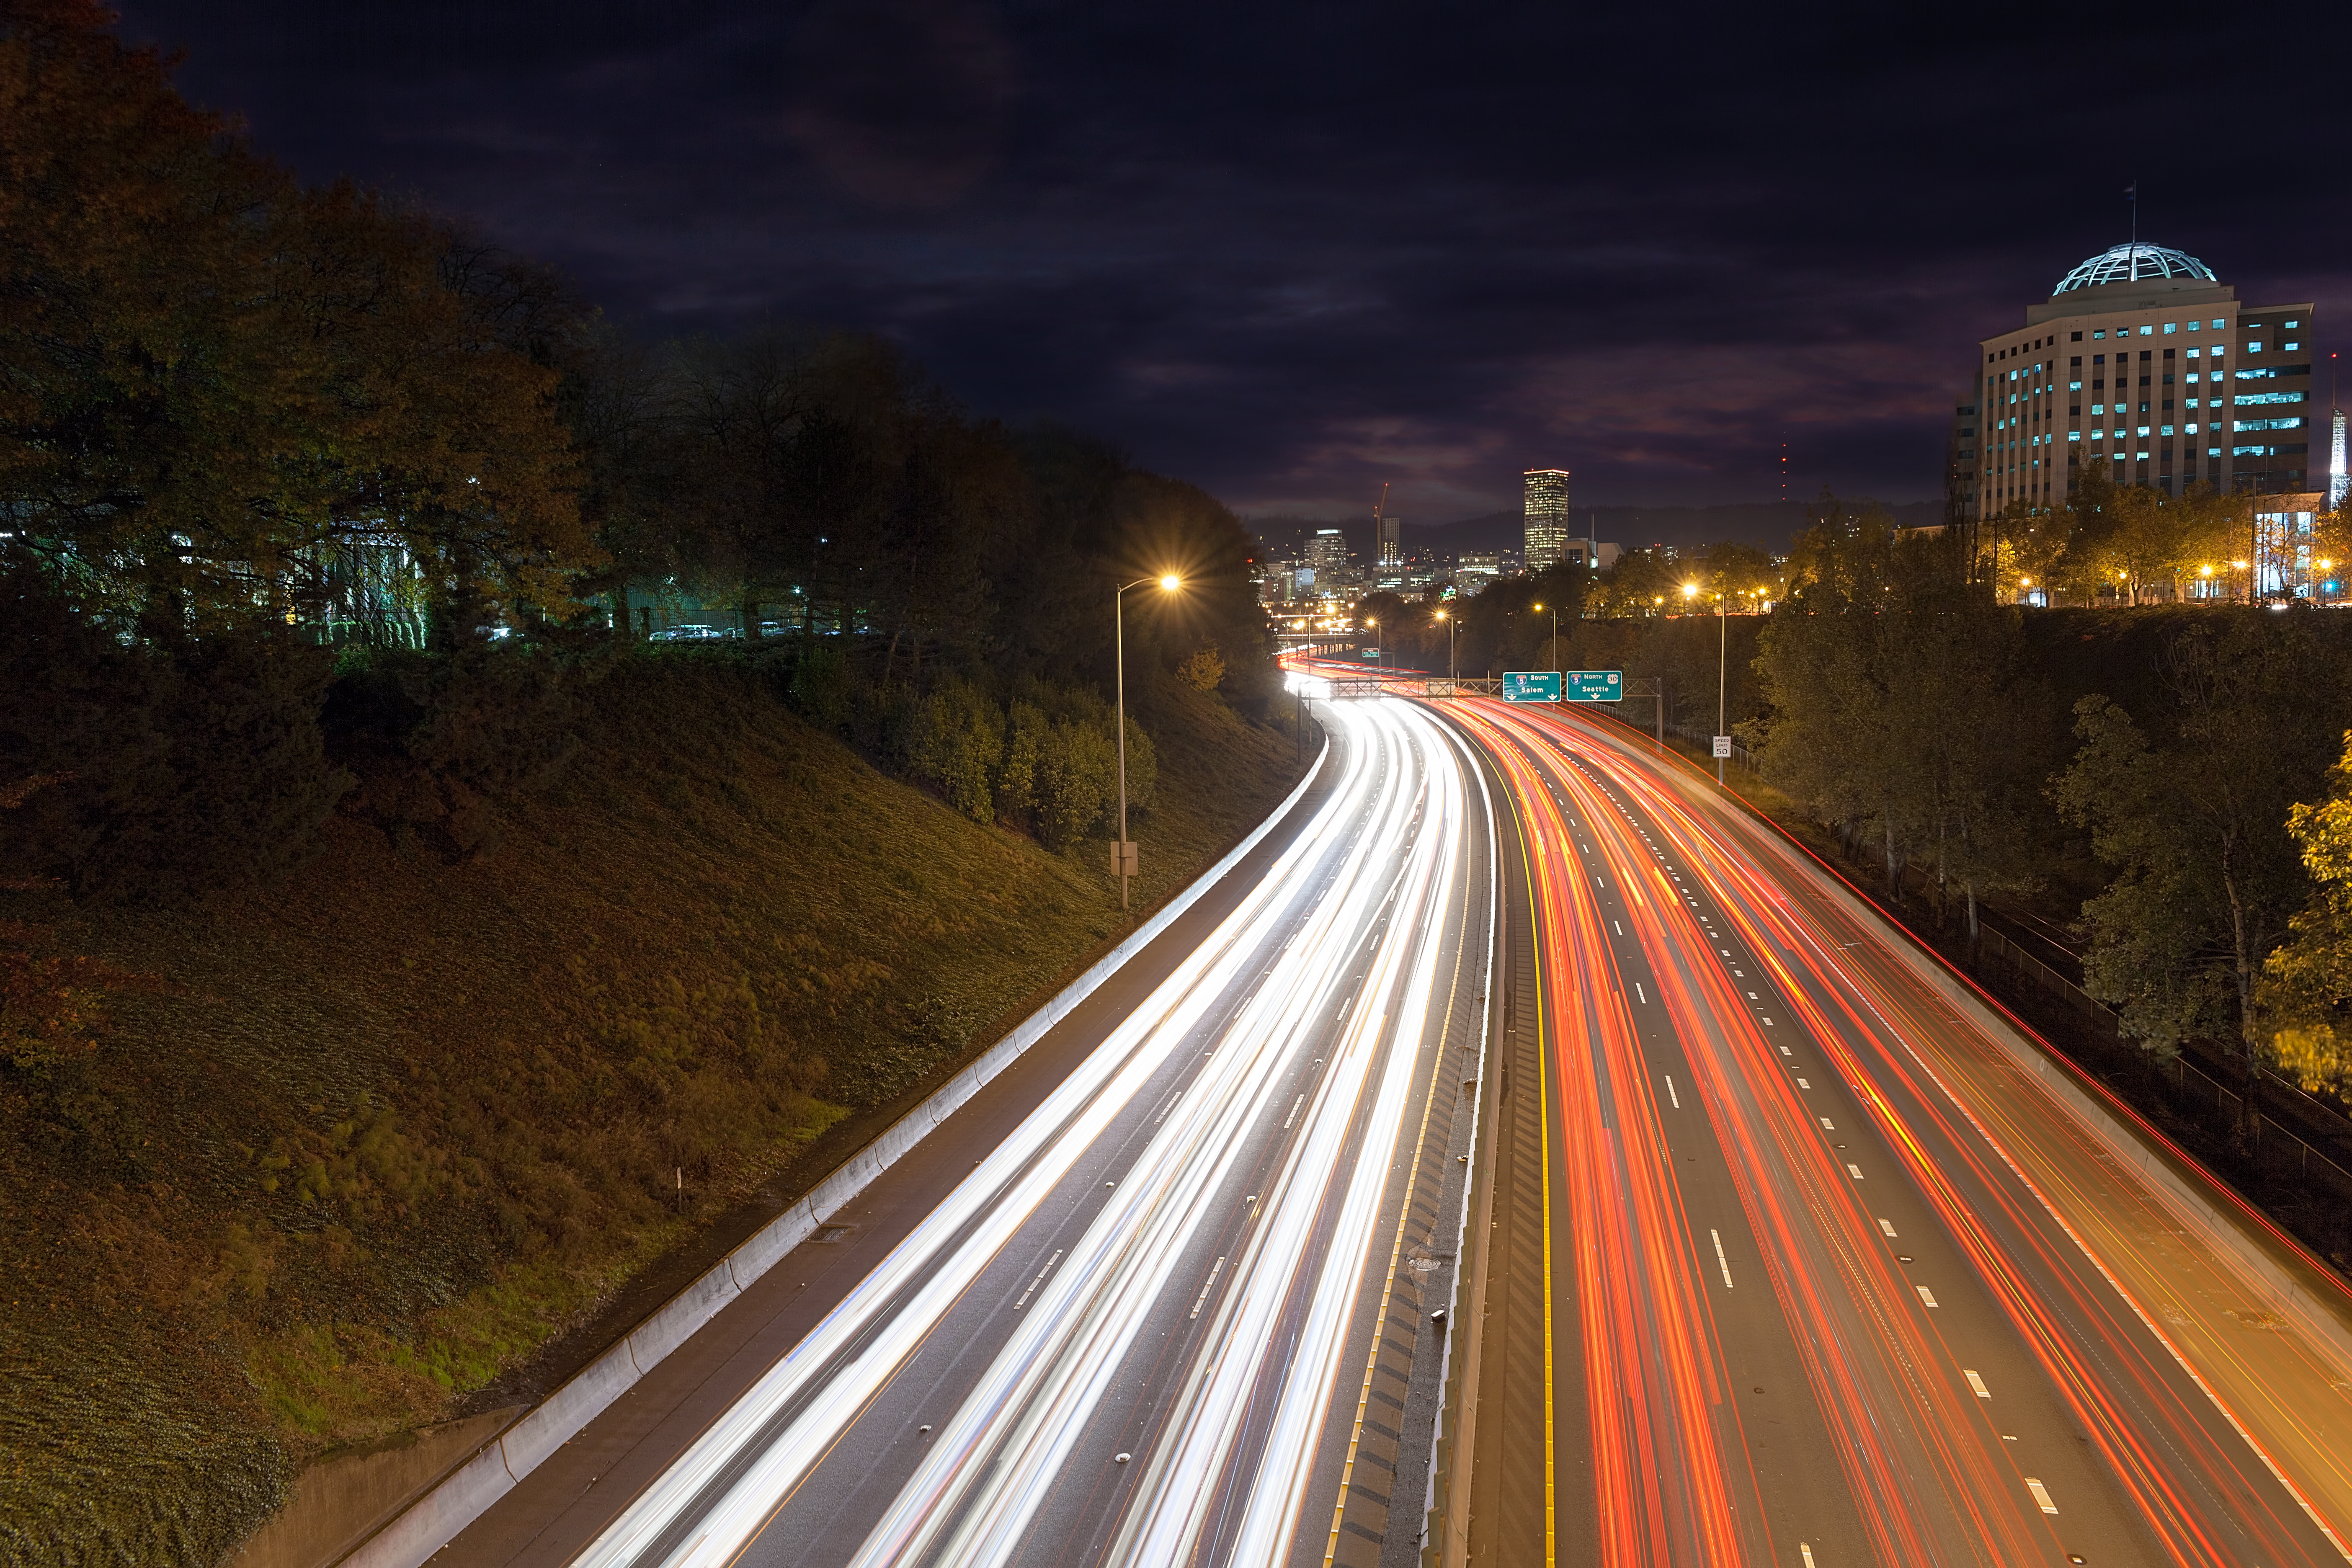
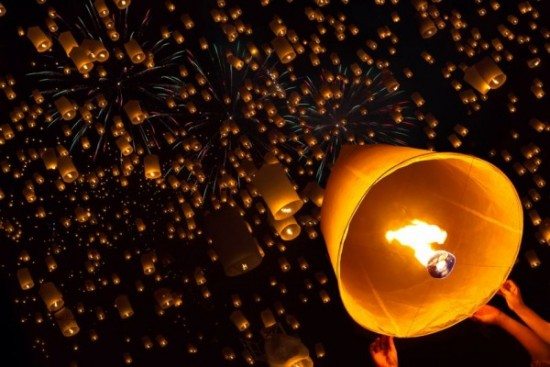
7. Try a long exposure. One of the most fun things about low light photography is playing with slow shutter speeds to create intentional motion blur. All you need is something moving, such as waves, car headlights, or even the beam of a flashlight.
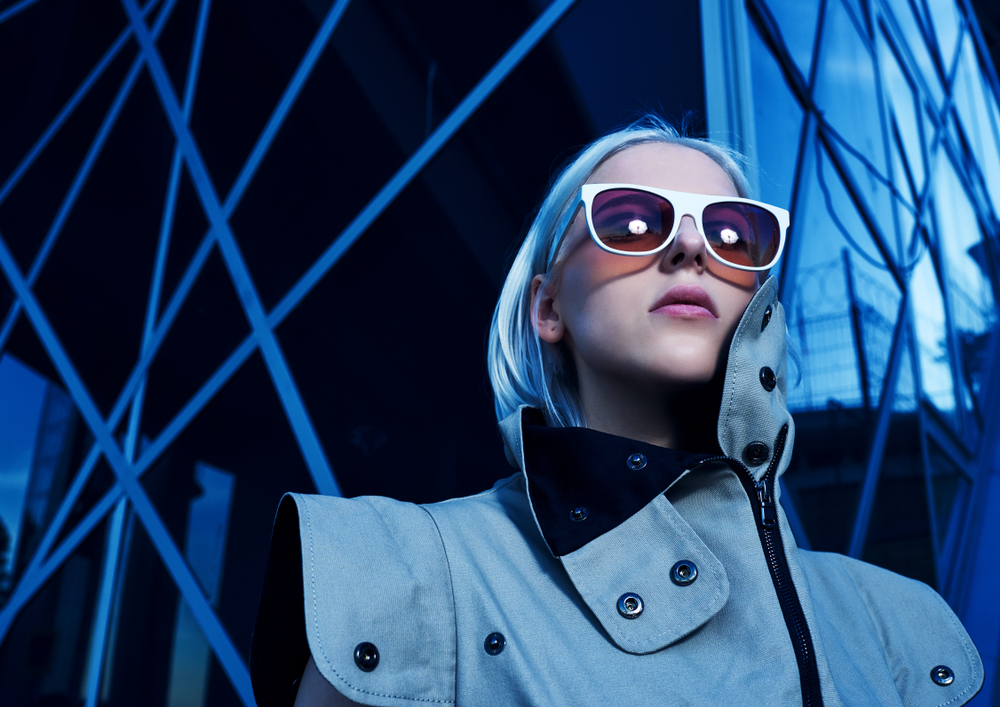
8. Don’t fear the flash. Low light photography also gives the opportunity to bring in your own light source. You can use the pop-up flash on your camera, but it’s even better if you have an external flash or other light source that you can move around and use to light your subject from different angles. Balancing the brightness of the flash with the ambient light takes some practice, but it’s definitely worth experimenting with to create some fun images like the examples below. For this to work well, you may need to move the light closer to the subject. Just be sure that your light source doesn’t overpower the overall scene.
Try putting these tips into practice. Grab your camera and tripod and try to get as creative as you can with your low light photography. Don’t forget to bring a flashlight!
Mastering the three levels of low light photography
One of the best ways to create unique images is to experiment with low light photography.
The transition from day to night is one of the most dynamic times to be out shooting. The light is constantly changing, which gives a range of opportunities (and challenges).
Here’s your guide to successfully approaching the three levels of low light photography.
(Note that for the tips below it will work best if you shoot in Manual Exposure Mode. This is usually set by turning the top dial to ‘M’ on most cameras.)
Low Light Photography: Visible Conditions
Light levels are low, but you can still easily see the scene in front of you.
● Shoot at Higher Shutter Speeds to Avoid Blurry Images. As light levels drop, you’ll need to watch your shutter speed to be sure you can get away with hand-holding your camera. A rule of thumb is to take the focal length of your lens and turn it into a fraction to get your slowest hand-held shutter speed. For example, if you’re shooting with a 50mm lens, you’ll need a shutter speed of 1/50th of a second or faster to safely hand-hold your camera.
● Set Aperture to the Lowest f/Stop Number. Opening up your aperture by using a low f-stop number such as f/2.8 or f/4 will let in the most light possible which is usually what you want when dealing with low light levels.
● Use a Faster Lens. A ‘fast’ lens means a lens that has an aperture that opens very wide. For low light photography, you’ll want to use whichever lens you own that opens up the widest (has the lowest f/stop number), thereby giving you the fastest shutter speed possible.
● Use Image Stabilization. Many lenses have a switch labeled IS or VR. This stands for image stabilization or vibration reduction. Turn this on when hand-holding your camera and it will help offset camera shake.
● Increase Your Camera ISO. If you’ve opened up your aperture as wide as it will go, and you’re still struggling to get a fast enough shutter speed, then your best bet will be to raise your ISO. Doing this will brighten your image and allow you to achieve faster shutter speeds while still getting a properly exposed image.
Low Light Photography: Low Light Conditions
Twilight conditions–there’s still some visible light in the sky, but it’s getting tougher to see detail in the shadows with the naked eye.
● Position Subject Closer to the Light Source. You’ll likely need to brighten up the shadows on your subject by moving closer or turning towards the main light source in your scene.
● Stabilize Yourself. If you’re trying to hand-hold your camera you’ll need to find a way to steady yourself. Try resting your elbows on something sturdy and holding your breath when you take the shot.
● Use a Monopod or a Tripod. Stabilizing your camera with a tripod or monopod is the most sure-fire way to get sharp images in low light. It’s also much easier to manually focus if your camera is on a tripod, especially if you switch to using Live View.
● Push Your ISO to a Higher Number. You’ll definitely need to raise your ISO under these types of low light conditions. It’s the only way that you’ll be able to get a bright enough exposure while still maintaining a fast enough shutter speed to freeze motion.
● Shoot in RAW. RAW files will give you the maximum amount of detail and image quality possible. Learning to process RAW photos in a program like Adobe Lightroom will allow you to bring out shadow detail that wouldn’t be possible with a JPEG image.
● Be Careful About Autofocus. Your camera’s autofocus system will likely struggle as light levels drop. If you hear your autofocus motor searching around for focus, this is a sign that you need to switch to manual focus and turn the focusing ring on the lens yourself.
● Use a Larger Sensor Camera. Full frame cameras do have an advantage when it comes to low light photography. Generally speaking, the larger the image sensor in a camera the higher you can raise your ISO without a noticeable loss of image quality.
Low-Light Photography: Dark Conditions
Little to no visible light in the sky and you need a flashlight to see what’s around.
● Use a Tripod. I’ll say it again. Your camera has no problem seeing in the dark with a longer shutter speed, but you really have to use a tripod to hold it steady under these conditions.
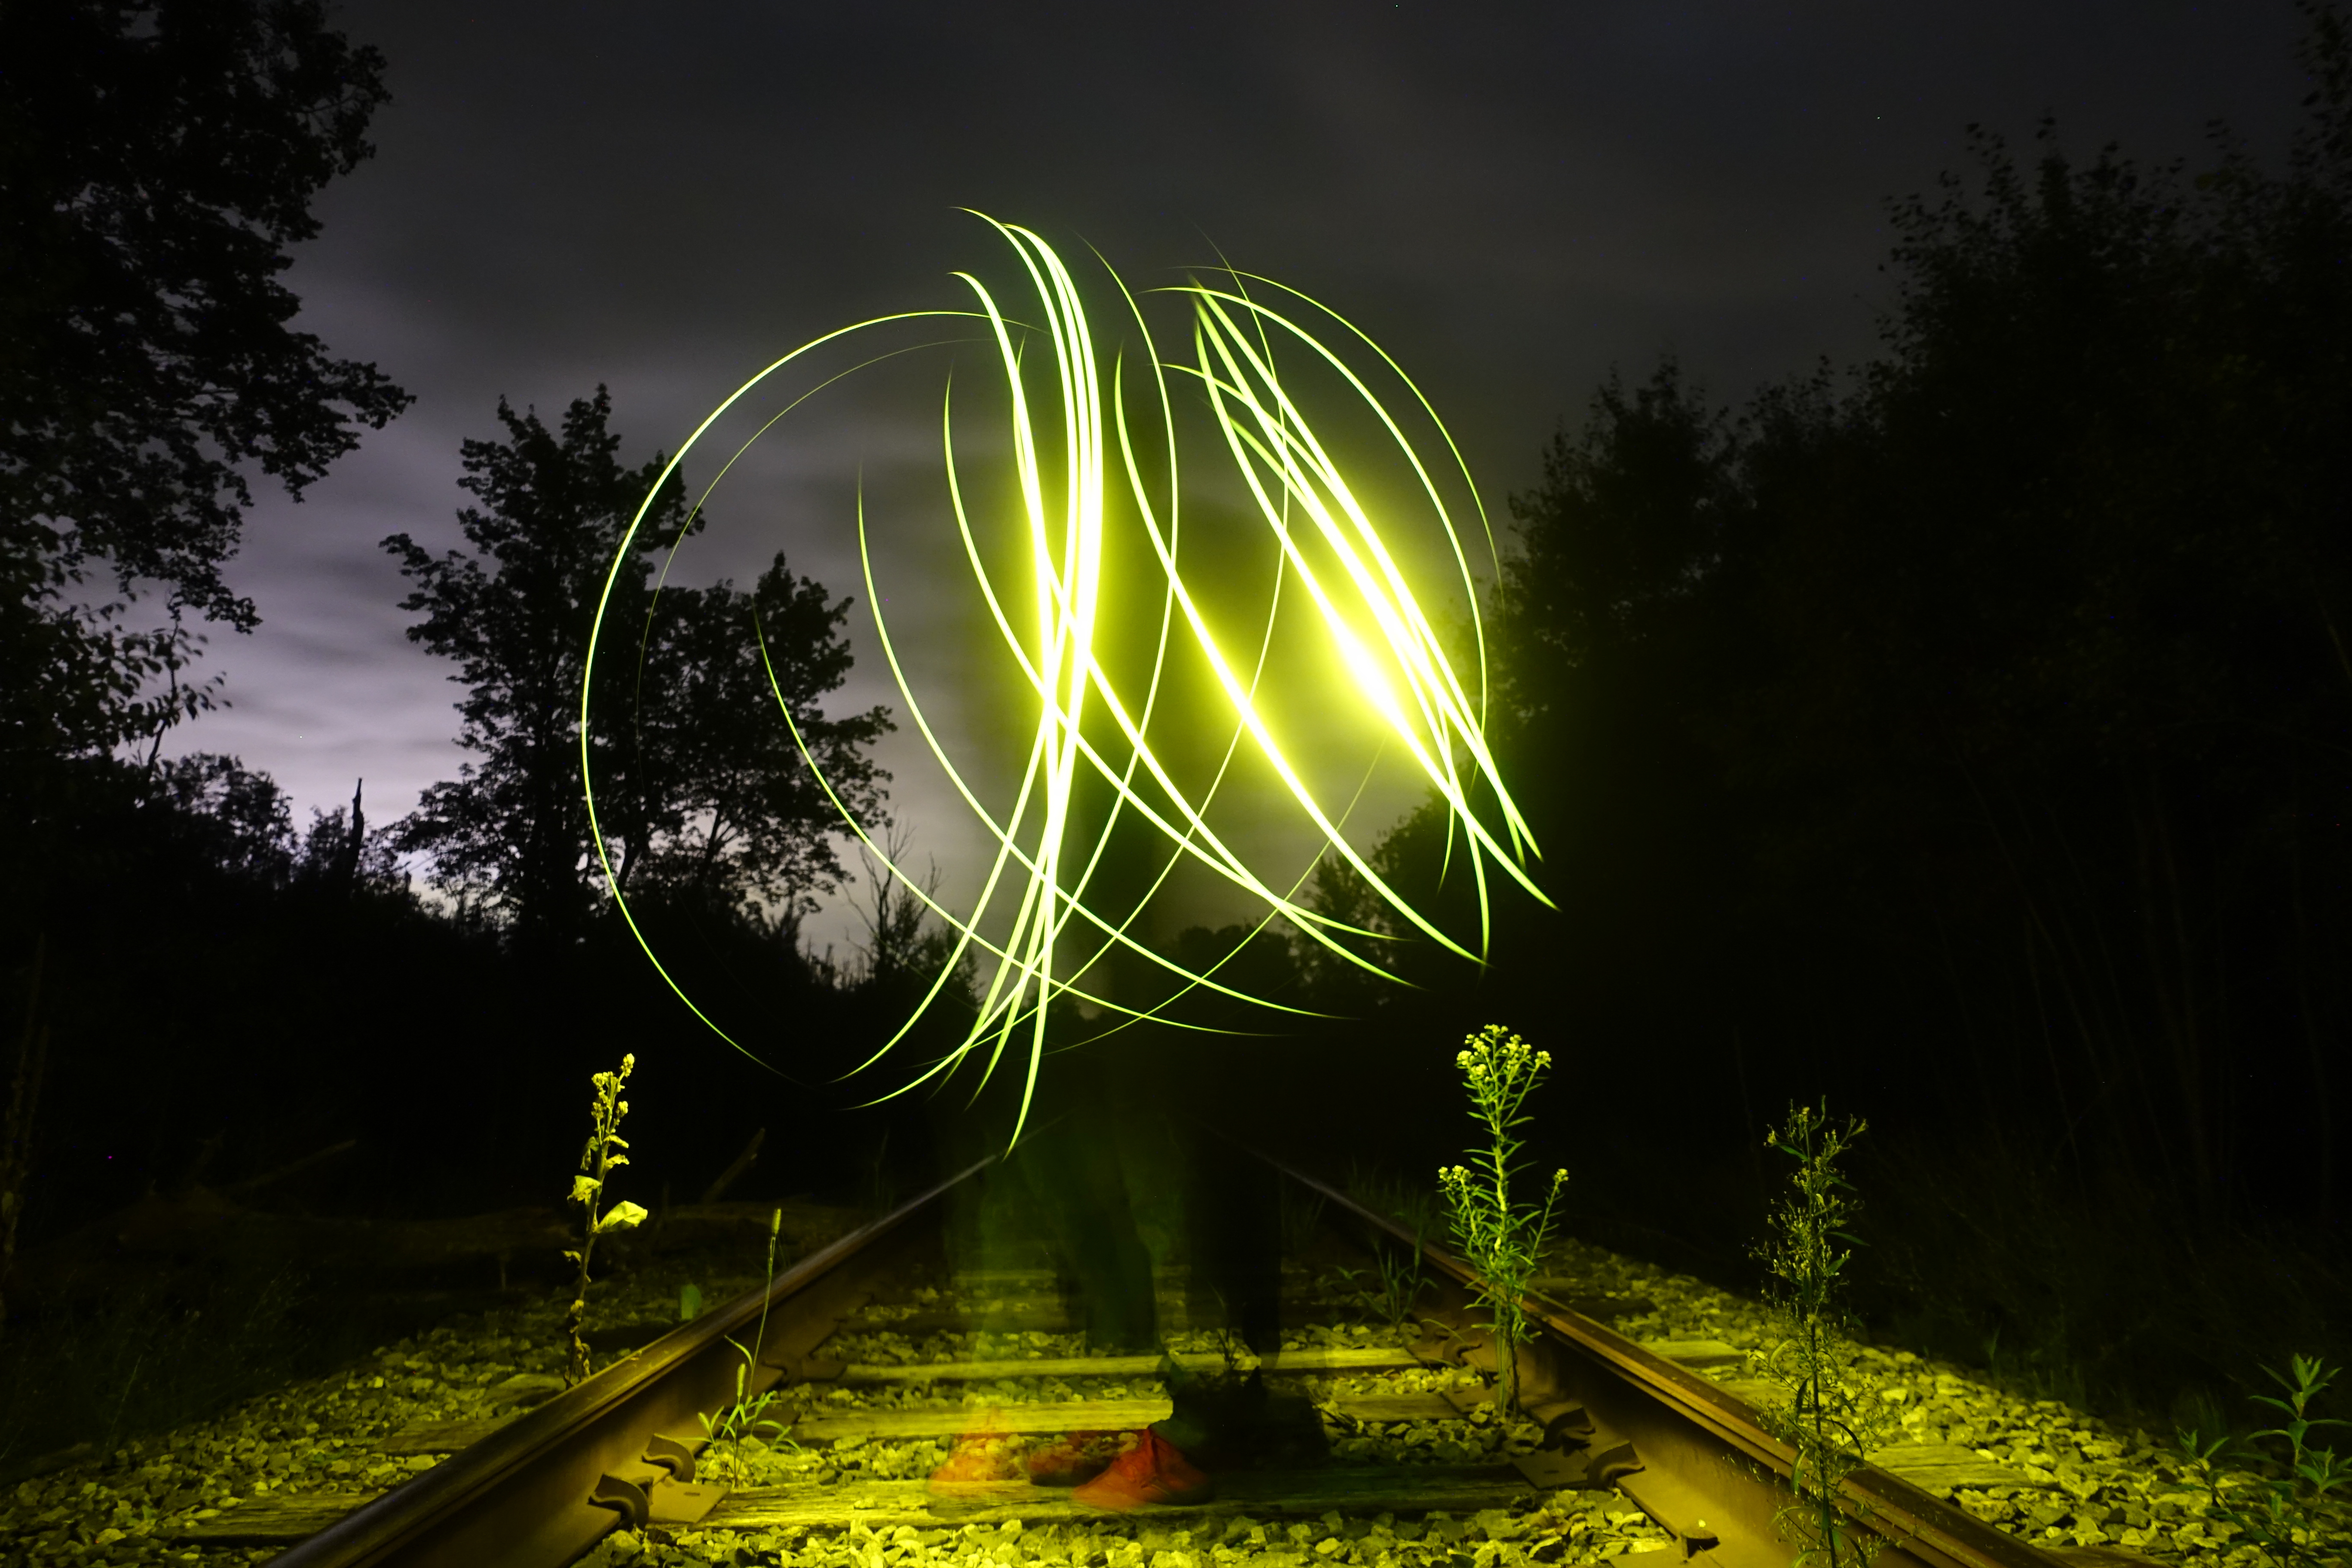
● Use a Flashlight for Light Painting. This is the prime time to try out light painting- just use a bright flashlight and wave it around your scene to create artistic streaks of light.
● Use Manual Focus. Since your autofocus system needs light to work properly, you’ll need to switch over to manually focusing.
● Use a remote release or self-timer. You don’t want to wiggle the camera when you press the shutter button, so the best way to avoid this is to turn on your camera’s self-timer or use a remote release so that you don’t have to touch the camera to take a photo.
● Practice, Practice and Practice! Night and low light photography is all about experimenting and playing with both slow and fast shutter speeds. Although there is a bit of a learning curve, it’s well worth it to create some truly unique images!
Venturing out with your camera in low light conditions will absolutely make you a better photographer because you’ll get a ton of practice with changing your settings.
Use the tips above and you’ll be well on your way to building your photo skills as well as your confidence to tackle interesting photography challenges!
Travel Photography Resources
5 Dos and 2 Don’ts for Travel Photography
Take Great Photos And Get Paid More For Your Travel Articles
Turning a Photography Hobby into a Monthly Income
The Pros Of Selling Your Images As Stock Photography
16 Mobile Photography Tips And Tricks Every Photographer Should Know

