For most of us, that’s our smartphones. Because, if you’re anything like me, your phone is never too far away!
Thanks to huge leaps in technology, it’s now possible to take stunning images with your phone, saving you from needing to constantly carry heavy or expensive equipment. In fact, nearly every photo on my blog and Instagram feed have been taken using my iPhone.
Below are several tips for ensuring you get the best smartphone photos.
Remember the basics
Like with nearly all photography, you should remember the rule of thirds, which says that you should line up important compositional points along lines on or near where lines intersect.
Your smartphone’s camera should have a standard 3×3 grid on it to help you with this. If it’s not already enabled, you can find it in your phone’s Settings menu, in the Camera section.
This grid will make keeping to the rule of thirds fast and easy, helping to ensure you capture impressive shots with each snap.
See how the subject of this photo (the waterfall) is at the intersection of the thirds line:
Take advantage of HDR
Be sure to enable your camera phone’s HDR (High Dynamic Range) feature. This feature captures multiple versions of a single image at different settings when you snap your photo. It then combines the best of all the images to produce a single photo. This saves you from taking several photos and analyzing which is best.
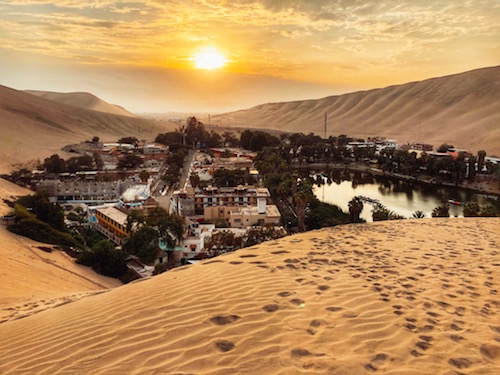
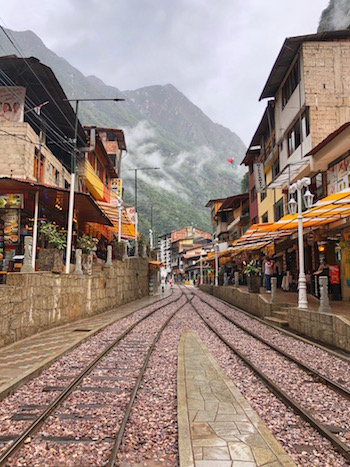
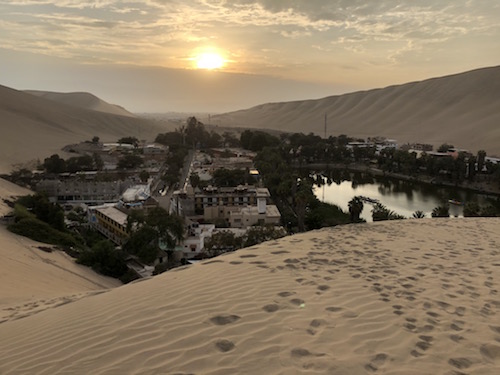
Here are a few photos I snapped on a recent trip to Peru using HDR:
Adjust the focus with a single tap
Smartphones now have incredible technology for determining the focal point of a shot. However, if you would like to change the focus or set the exposure, you can do so with a single tap.
Just tap on your smartphone screen and the focus will adjust automatically. All you have to do next is snap the shot.
Use third-party apps to edit photos
One of the best things about shooting photos from your phone’s camera is the ability to quickly and easily edit your photos. Most phones will have filters available, but I recommend a third-party editing app such as Snapseed (my favorite) or Lightroom. Both of these apps are free.
Here’s a before and after photo where I used Snapseed:
Take some time to familiarize yourself with these apps—they both allow for cropping, color manipulation, healing, filter application, lighting adjustment, and much more.
While the apps take a bit of time to learn initially, I can now edit a photo in less than 30 seconds.
Snapseed: for iOS (Apple products) and on the Google Play Store (Android products)
Lightroom: for iOS (Apple products) and on the Google Play Store (Android products)
Using the above listed tips and techniques should help you to better produce stunning images using only your smartphone.
Travel Photography Resources
5 Dos and 2 Don’ts for Travel Photography
Take Great Photos And Get Paid More For Your Travel Articles
Turning a Photography Hobby into a Monthly Income
The Pros Of Selling Your Images As Stock Photography
16 Mobile Photography Tips And Tricks Every Photographer Should Know

