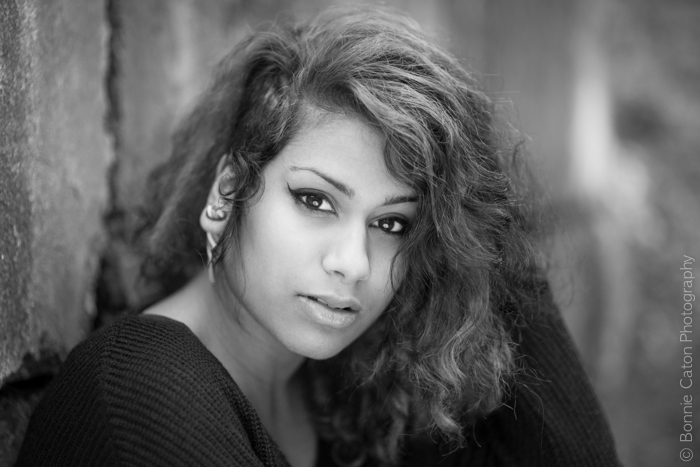
My home has become something of a hazard.
While I don’t technically have a photo studio, I do have a large living room that’s currently cluttered with light stands, cords, a background, reflectors, and a stool.
Anyone who comes through the front door must first run the gauntlet, and then risk the possibility that I will want them to sit for a few quick shots.
Here’s a beautiful friend that I recently caught in my lights:


- Reflect it. People almost never look good in direct light. Whether it’s from the flash on your camera, a studio strobe, or the sun, you need to get your subject OUT of the direct light. Try putting your subject in the shade, across from a building that’s reflecting light back onto their face. Or use a reflector to pop some light onto their face and get that sparkle in the eyes.
- Diffuse it. If you don’t have any open shade nearby where you can get your subject out of the direct sunlight, or if you’re shooting with a flash, try diffusing the light. That means that your main light source passes through something like an umbrella, a softbox, or a screen that you hold up to the sun, which softens it before it hits your subject. Cloudy days are great for this, as the entire sky turns into a big soft box for the sun.
The best is shooting on an overcast day, so that the sunlight is diffused by the clouds, and then using a reflector to add a little extra light under the eyebrows, nose, and chin, and get that all-important “sparkle” in the eyes. If it sounds complicated, I assure you, it’s not. As soon as you see someone demonstrate how it works, it’ll click. Or, go grab a friend and go outside to experiment with different kinds of light and see what you get. You can buy any number of fancy reflectors in different variations of size, color, and shine… but my very favorite tool by far these days is just a piece of white foam core board from my local art supply store. It’s light, it’s easy to hold up while you shoot, and the results are marvelous. Plus, it’s just a couple of bucks per piece. — Bonnie Bonnie Caton Creator, Breakfast Stock Club
Travel Photography Resources
5 Dos and 2 Don’ts for Travel Photography
Take Great Photos And Get Paid More For Your Travel Articles
Turning a Photography Hobby into a Monthly Income
The Pros Of Selling Your Images As Stock Photography
16 Mobile Photography Tips And Tricks Every Photographer Should Know

