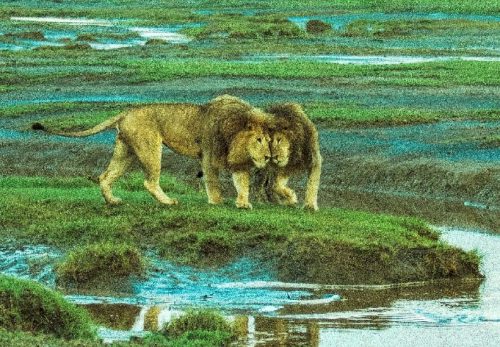
The “accidental photographer”—that’s what they call me. At no point in my early aspirations to be a journalist did I imagine that I would be taking photos—let alone photos considered good enough to appear in print.
But when I was hired by The Denver Post as a restaurant critic, I had to pay attention to the composition, lighting, and other aspects of the images that ran with my stories. Even though I wasn’t actually snapping the shot, I needed to be able to visualize it along with the photographer.
A few years later, I was hired as the travel editor, and that’s when things got real. Few newspapers have the budget for a photographer to accompany travel writers on their journeys, so I was told that I would need to get good enough to do it myself. So, I took a few classes, spent a lot of time shadowing staff photographers, and took thousands of mediocre photos.
When I began my freelance career in 2014, I realized that the need for good photos to accompany my stories was even more imperative.
My photography skills took a turn for the much, much better when I went to Tanzania on Great Escape’s Photography Expedition two years ago. Instructors Daniel Nahabedian and Bonnie Caton made a great case for adding Lightroom to my repertoire. I’d dabbled in Photoshop, but I’d mostly been lightly retouching photos in iPhoto and Picasa. But once I saw all of the cool features in Lightroom, I was sold, and I’ve been using it since—it has helped me make some money, too.
Here are three tips for using Lightroom to boost your photography skills:
Have fun: Play, play, play. Go crazy with altering photos to see what the app is capable of. Don’t be afraid to experiment—crop like crazy, use the adjustment brush to brighten and darken, run the photos through all of the Lightroom presets that you find on the left-hand side. Because Lightroom saves the original, you can do whatever you want to the image to see what will show it off best.
Get organized: Use the Copy feature when you initially import photos, and then check “Into Subfolder” (located in the Destination panel in Import). Then, give that Subfolder a specific name, such as “Tanzania Day One” or “Tanzania Lions.” I also use the Map feature—giving you the chance to show exactly where the photo was taken—which can be very helpful when you’re working with an editor and he asks for an exact location. Don’t forget about Collections, too—that’s where I organize the shots I’ve sold by client name, so that I know what they have purchased previously and the kinds of images they like, as well as by subject matter, destination, and activity (animals, mountain biking, Colorado hiking, Yellowstone in winter, etc.).
Use the tools: Two of the tools I use most are Snapshots and History. Snapshots allows you to save any given photo right at that moment, and I do this frequently in the Develop mode. History shows everything you have done to the photo. When someone buys an image from me, I then go in and pick about a dozen of my own favorite options, send them to the clients, and let the clients decide which one they like, with the offer to do further manipulation, if needed.
Travel Photography Resources
5 Dos and 2 Don’ts for Travel Photography
Take Great Photos And Get Paid More For Your Travel Articles
Turning a Photography Hobby into a Monthly Income
The Pros Of Selling Your Images As Stock Photography
16 Mobile Photography Tips And Tricks Every Photographer Should Know


