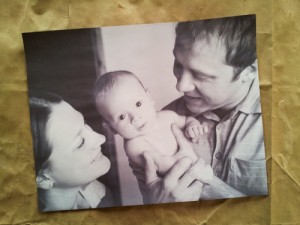
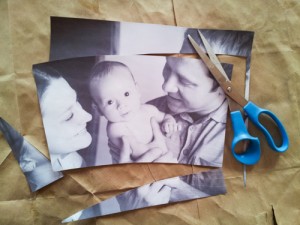
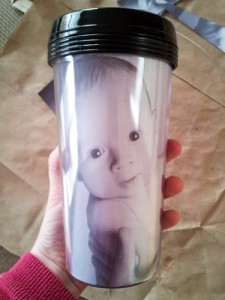
Sometimes, it’s the quick, candid photos that are the best. Here’s one I shot almost by accident between studio sessions with a family last week:
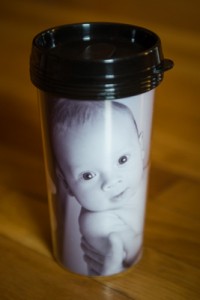
You can’t manufacture moments like this. They happen on their own. You just have to be ready to capture them when they do. Bonnie here, again, with a new and fun photo project to inject a little creativity and play into your week. (If you missed my note yesterday, you can catch up here.) Instead of simply printing photos on paper, I’m sure you’ve seen a wide variety of new options – prints on canvas, prints on wood… pictures on t-shirts, magnets, coffee mugs, and more. This week, I want to encourage you to actually create one. Why? Because it’s fun. And that’s what photography is – a FUN way of making an income. But also because Christmas is coming up. And photographs make good gifts, too. Here’s one I created with the above photo and how I did it…
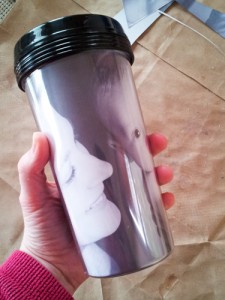
I chose an insulated coffee mug because I wanted something the parents can hold in their hands every day. Something to always remind them what their son was like when he was just a few weeks old. And what do young parents want to hold in their hands all day, every day (aside from their new baby)? Coffee! And chances are, they’ll be drinking a lot more of the caffeinated kind these next few months, too.
Here’s how it’s done…
1. Find a “photo insert” mug. You can either get them from Starbucks for around $13 a piece (a bit spendy, but good quality)… or you can buy them in bulk from a place like www.discountmugs.com for $7.32 each, with a minimum order of 12. Make sure to select “blank” so that you don’t pay for printing.
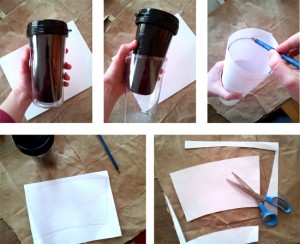
2. Make a quick template. Roll a piece of paper around your mug and mark it with a pencil, then cut it out. You should be able to do this with a regular 8.5×11 piece of paper.
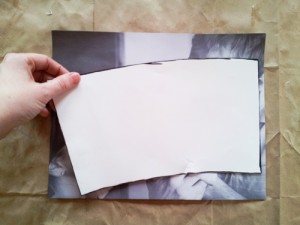
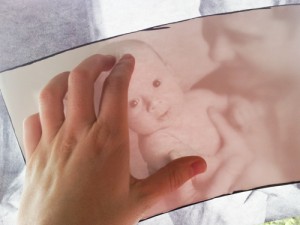
3. Find a photo. You want something that will work with the shape of the mug. Try printing a few photos and holding the template over the image to see if it lines up well.
If you can’t tell, try holding it up to a window.
4. Cut out your photo. Once you have it lined up, draw an outline on your photo around the edges of the template. Then, cut along the line. 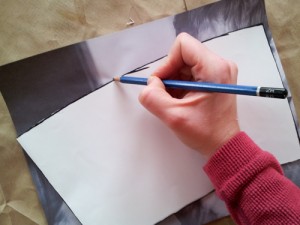
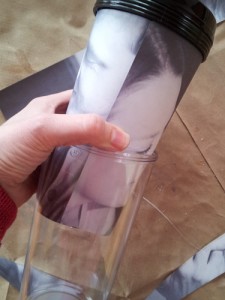
5. Plop the insert into your mug. And… voila! Wrap and deliver.
Tip: Try this with a low-quality print of your photo, first. Once you’re sure the photo works well in the mug, make a higher quality print on photo paper, cut it out, and replace the “trial” print for deeper, richer color. Tomorrow, I’ll show you another fun photo project that spans generations and melts hearts. In the meantime, start thinking about your next photo project. I promise – if you make it more fun, you’ll find more success. Share on Facebook
Travel Photography Resources
5 Dos and 2 Don’ts for Travel Photography
Take Great Photos And Get Paid More For Your Travel Articles
Turning a Photography Hobby into a Monthly Income
The Pros Of Selling Your Images As Stock Photography
16 Mobile Photography Tips And Tricks Every Photographer Should Know


